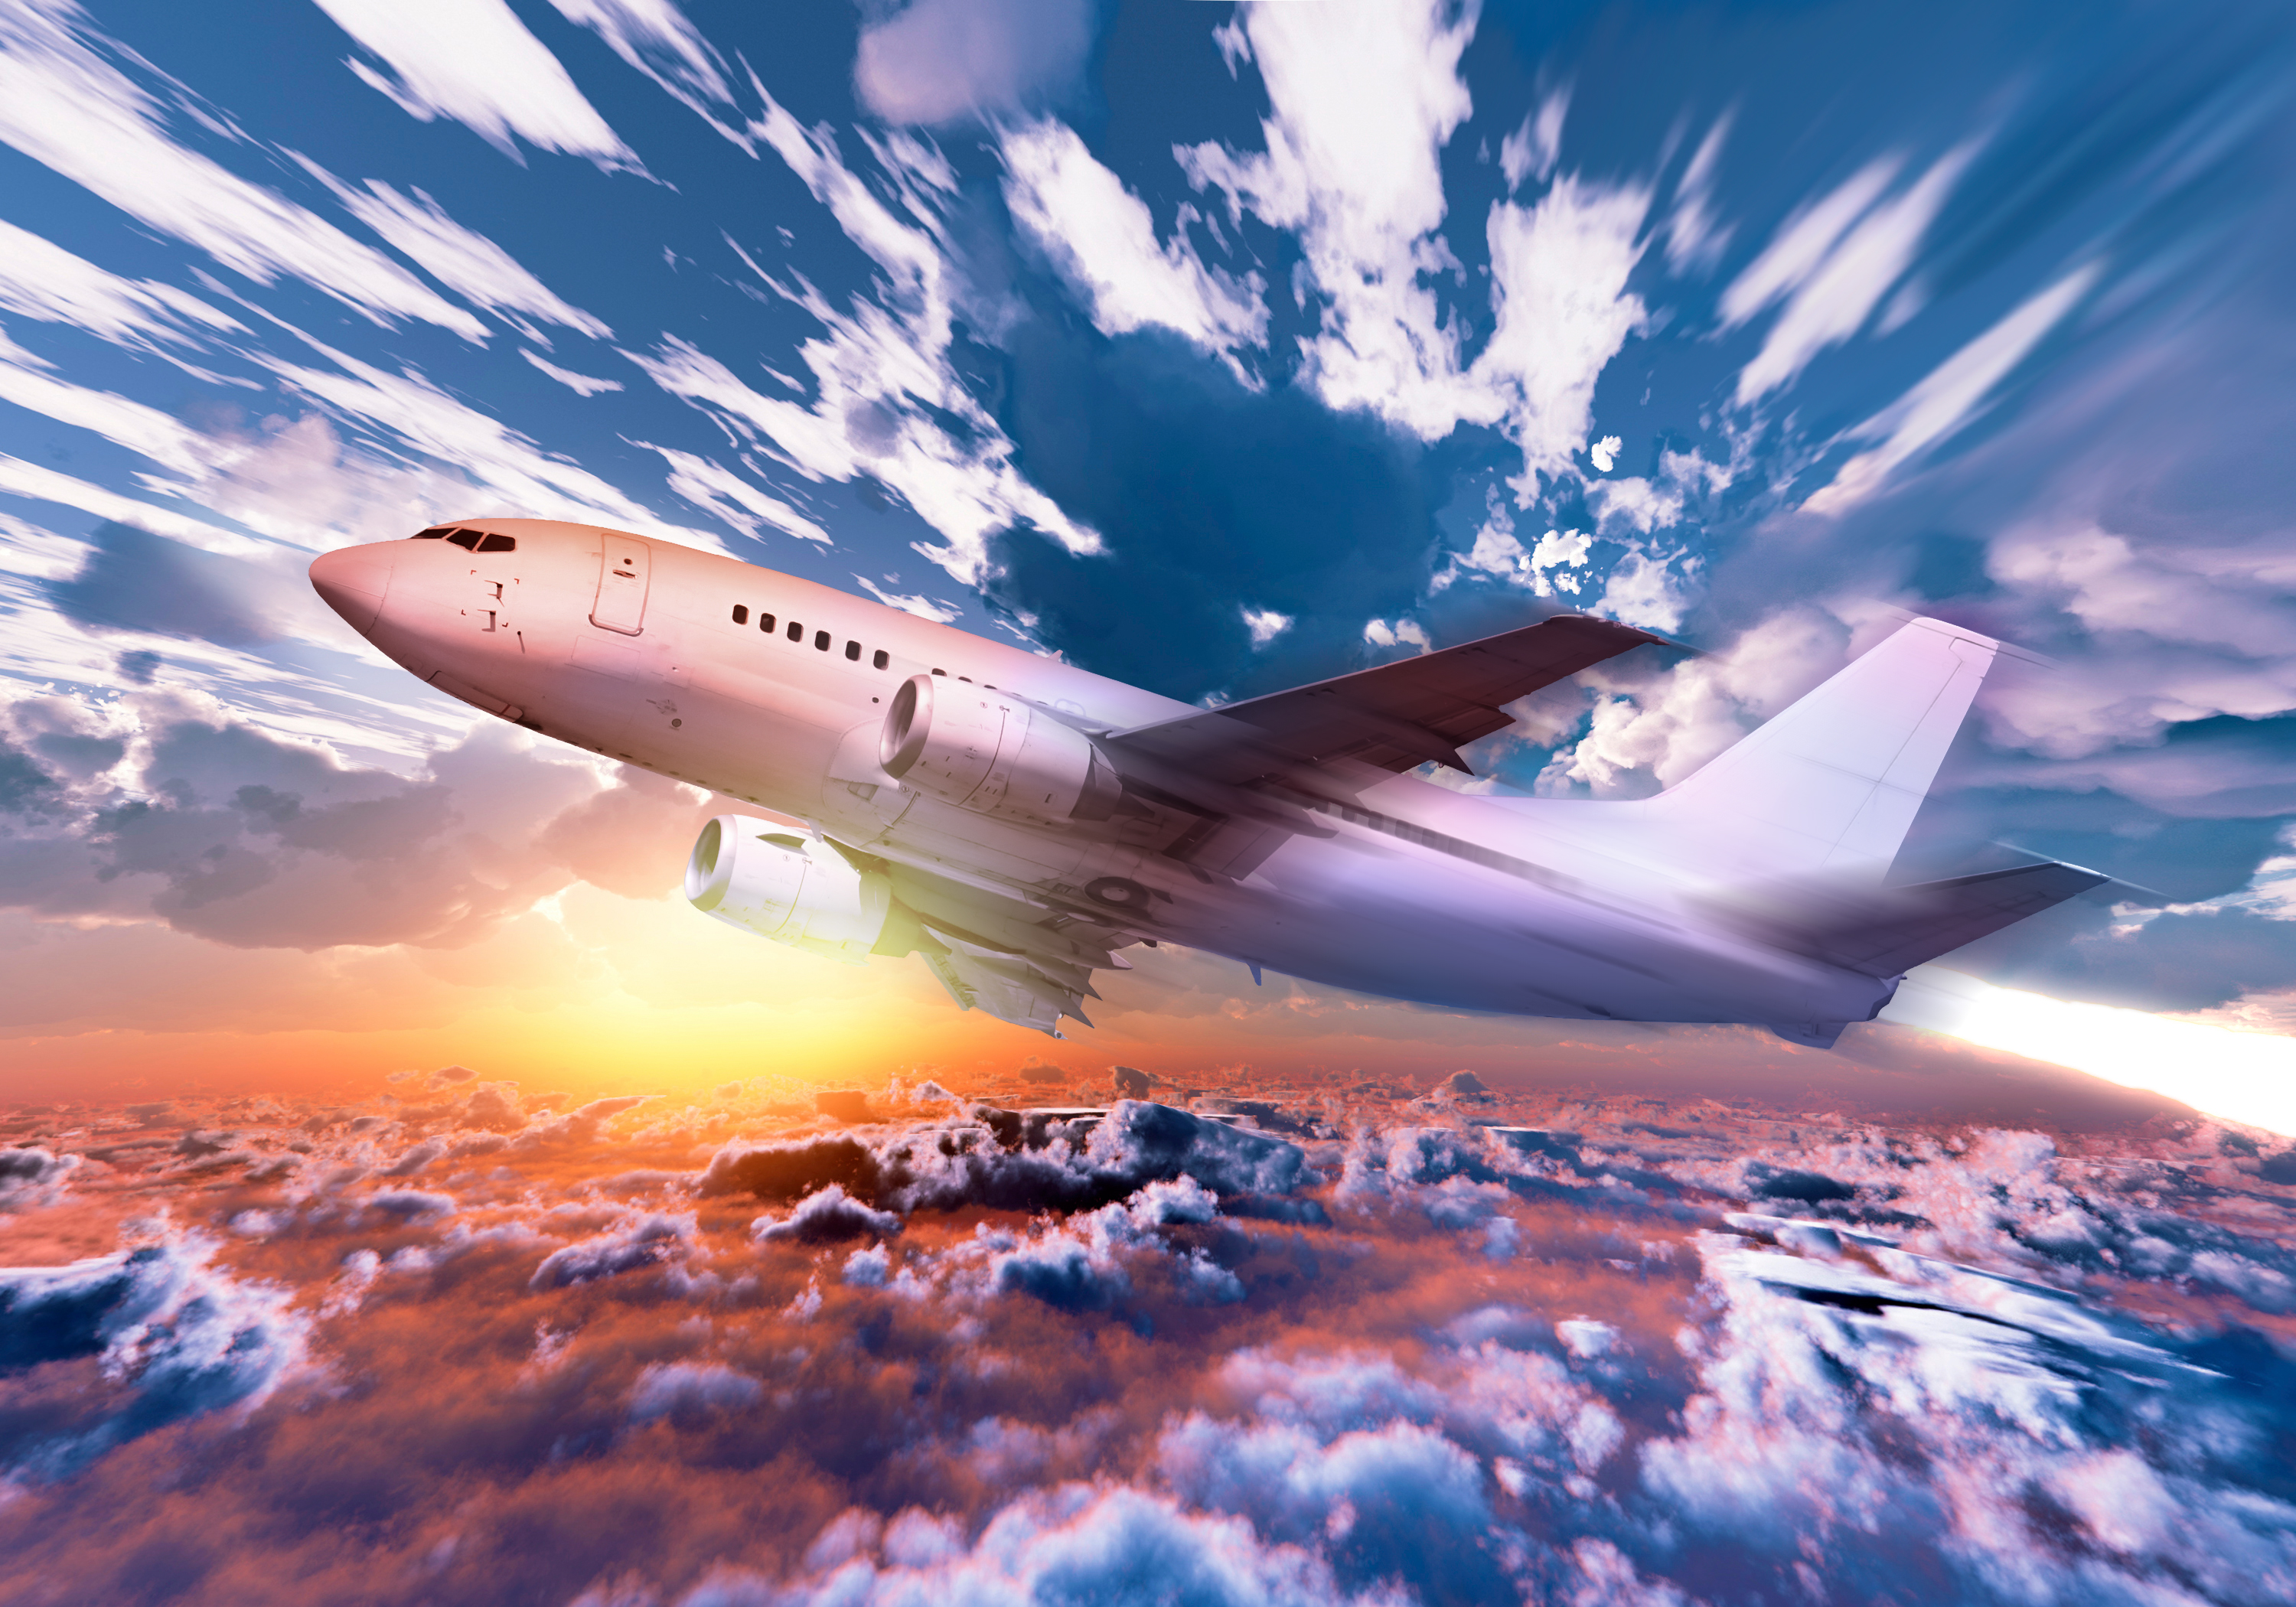
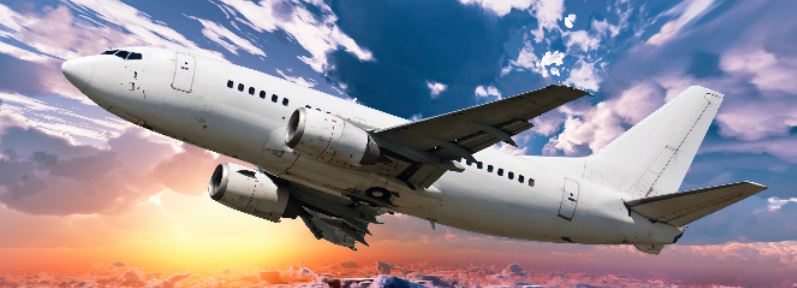
In this lesson Rocket Plane Design of Photoshop tips you will learn Enhancing a Layer Mask with the Wand, Refining Your Mask to Absolute Perfection, Shading the Airplane to Match the Sky, Infusing the Airplane with Sky Colors, adding a Custom Motion Blur Effect and Adding a Rocket Plume. But before starting creating this Project you need to download the exercise files, click here to download them. Again like last lessons I have divided this Project into 6 parts by their names. So let’s start creating this exciting project.
Rocket Plane Design using Photoshop
Enhancing a Layer Mask with the Wand
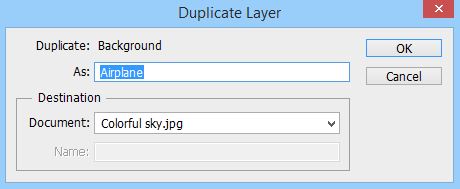
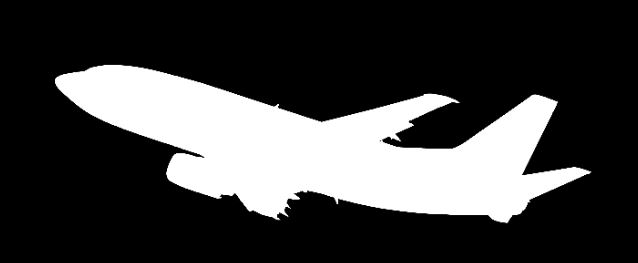
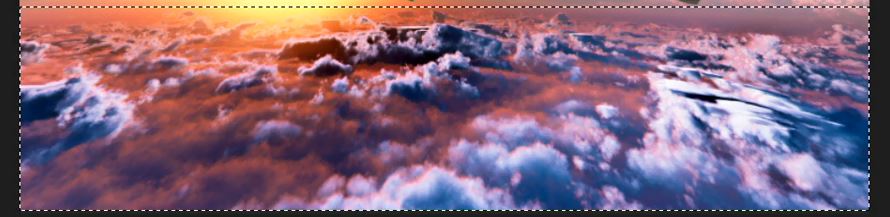
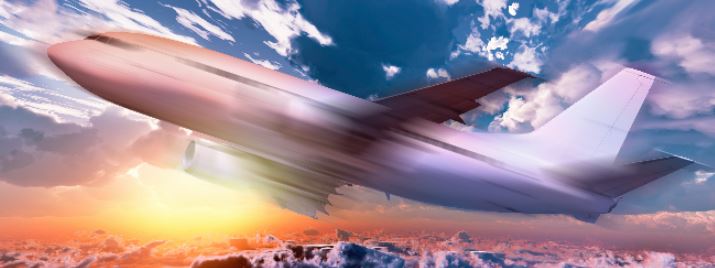
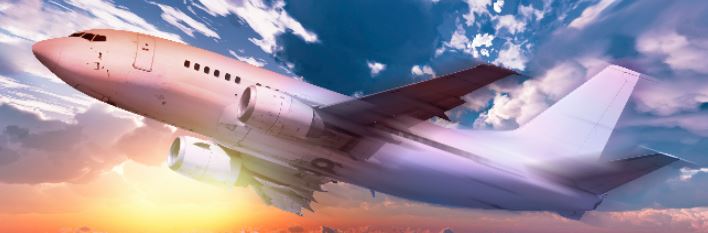
Open colorful background with Airplane Image from Exercise file in Photoshop by Pressing Ctrl+ O or navigate to File and then select Open. After that go to Airplane image, then navigate to layer Menu and then select Duplicate layer, in duplicate Panel select the destination to colorful sky.
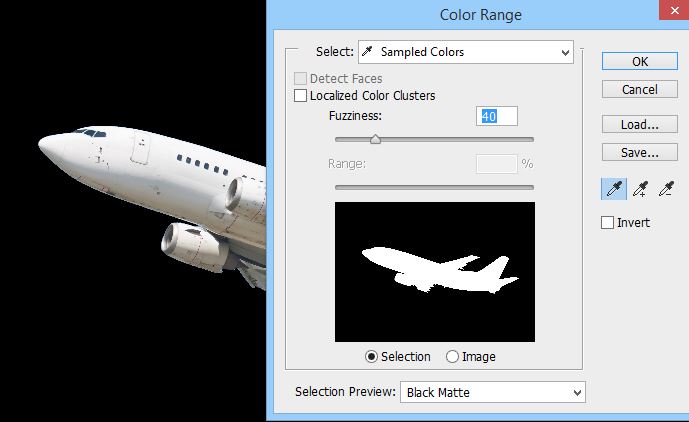
After that go to select menu and then color Range, by default the fuzziness amount of color range is 40 %. Put the fuzziness amount into 40 and then select background or airplane by your own desire by clicking the areas, it may happen for you, most of color may not be selected, in order to select them press Shift on the keyboard and click to select all areas which you needed.
Note: You can change the preview panel to in your own desire, form Grayscale to Black matt to see the areas which are selected like screenshot.
If you have recognized around the airplane there are too many blue edges from background, in order to remove them from selection, zoom your image to those areas and then press Shift on the keyboard, when you pressed shift on the keyboard you will plus sign with your Eyedropper tool, and then select the areas to erase them from selection, after that go to layer menu-layer Mask and then select Reveal selection. When you followed those upper steps your result will be like screenshot.
Note: There are many things which are selected, don’t worry about them because I will Introduce them complete step by step after this section.
Quick Tip:
Select magic wand tool from tools bar and then select the blue areas, when you select them press Ctrl+ Shift+ I to inverse selection, and then navigate to layer menu, select layer mask- Reveal selection.
In order to view our layer Mask independently in layer Mask, go to layer panel, if it is not showing, go to window menu and then check the layer panel. After that go to Airplane layer, and then Press Alt on the keyboard and then left click on the layer Mask thumbnail which looks like Black\White area to show you the result like screenshot.
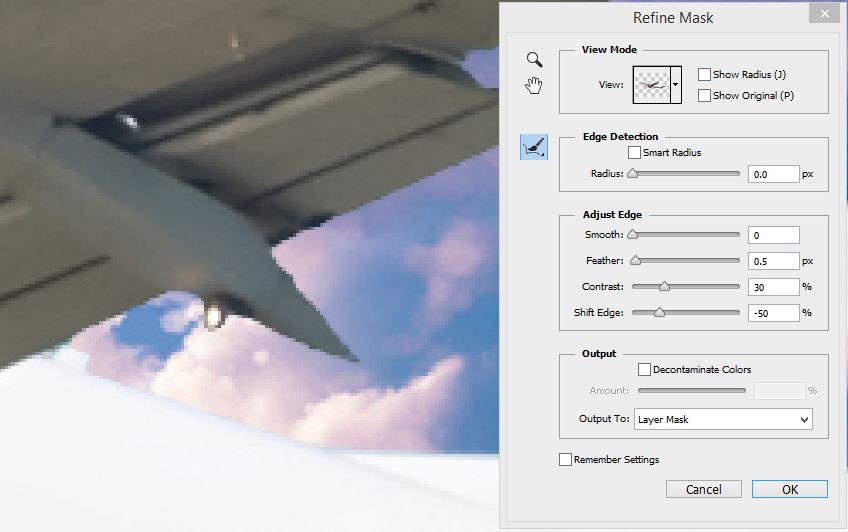
Refining Your Mask to Absolute Perfection
In last section we recognized the edges of the airplane is not fine. In order to fix them go to layer panel and then select the airplane thumbnail mask layer, after that navigate to select Menu and then select Refine Mask, in order to make the edges soften go to feather and then press up arrow key on the keyboard until it fix the edges, and then we want to shift the edge inside, in order to do this, decrease its amount as much needed, when you decrease the shift edge it will remove some of the blue colors, and in order to fix the soften Edge which we applied with feather, give some contrast to fix them.
Note: I have put their amounts like screenshot with result.
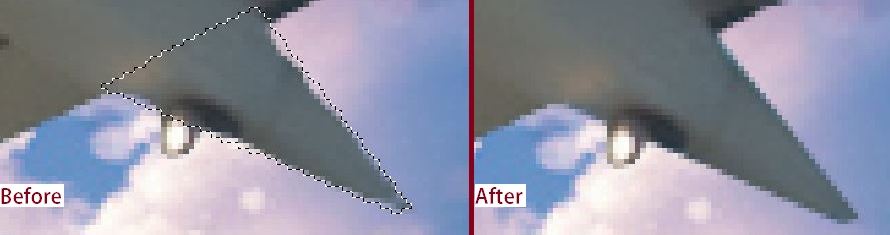
If you have recognized the edges looks too awful, in order to fix them select lasso tool and then draw a selection like screenshot, since we are working with layer mask press Alt+ backspace to restore those edges like screenshot. You have to do the same for other parts to fix them.
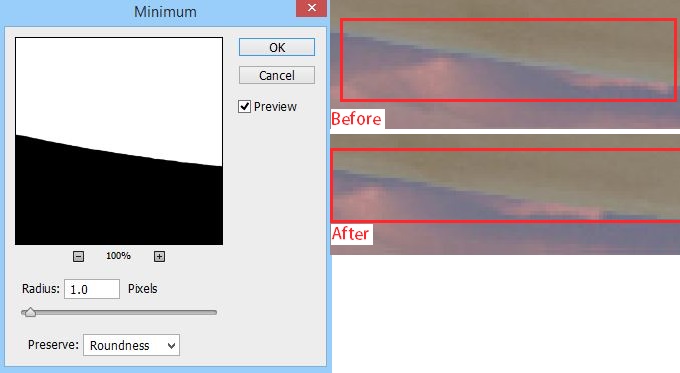
Again if you have recognized Airplane has no matter when you print but if you want to upload it online then you must have work on it. After this much working again there are many blue edges around the airplane I can remove again reaching to Refine Mask but I want you to show a feature of Photoshop which are designed especially for mask Edges to remove them. In order to remove those parts in advanced navigate to Filter- Custom and then select Minimum and with 1 pixel or less than one pixel it will remove completely the Blue edges surrounded around the airplane image. You can also change the Preserve into roundness too, I recommend you to use the Roundness because it makes the edges round.
Again if you have recognized you this part of the image, don’t you think something is missing. In order to bring that edge back I will use Lasso tool this time you can brush to bring that part back. Go to ahead and select Brush, and then press D to bring back the default colors in foreground and background. And then paint with white color those areas to bring them back.
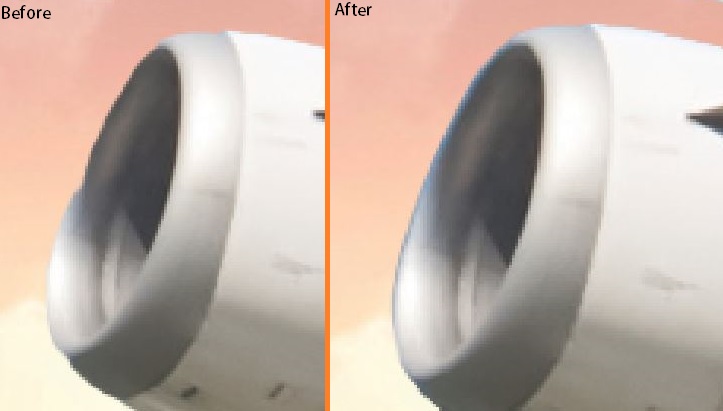
Quick tip: In order to remove the blue edges, go to Filter- Other and then select Minimum, also restoring some parts back select Brush and paint with white color.
Shading the Airplane to Match the Sky
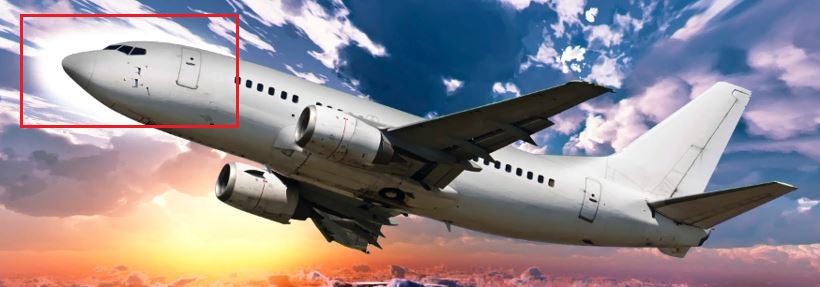
In order to give shade to the airplane, make sure the layer is active and then go to window menu-check Adjustments, when it appears, press Alt on the keyboard and then left click on the brightness\contrast, when you click a new will popup, in this panel name it darken, also check the clipping Mask so this should only effect the airplane layer. Don’t make any changes to amounts of brightness\contrast, just change its blend mode from normal to Multiply to darken the plane like screenshot.
In order to create shade to the front and tell, create a new layer, named it nose shade under the darken layer, remember it should be clipped to the airplane layer and then press B to select brush and then draw like screenshot to those areas, after that decrease it opacity to 20%.

In order to create light to the nose, go to colorful sky, and then create a new layer above it also name it nose light, again press B to select brush and this time paint with white color to those areas like screenshot, after decrease it opacity to 40%.
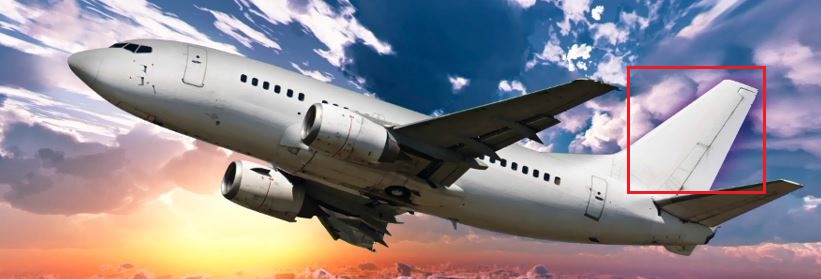
In order to create Tail shade to the airplane, again do the same but with 4e1d80, at last decrease its opacity to 60% and change the Blend mode to multiply.
Infusing the Airplane with Sky Colors
Till this step we have colored and match some parts of the image with the background, Real matching color of background with the airplane with start now.
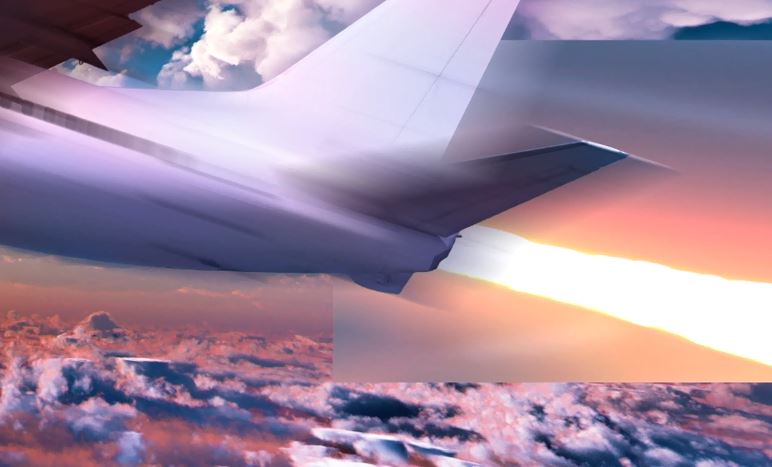
In order to match the color with the background select some parts of the background like screenshot and then press Ctrl+ Alt+ J to take a copy of selection (You can copy by pressing Ctrl+ J also, but the reason of coping an in this method is you can name your copied image I have named it Color and you change its blend Mode, create clipping Mask also you can give any desire color to the layer).
And then move it to this part of the image like screenshot and then transform it to 140 (Remember check link in Properties under the menu bar and then type 140 to resize that like screenshot). Next go to layer panel and then move it this layer between Darken and nose shade layer to clip that only to the airplane.
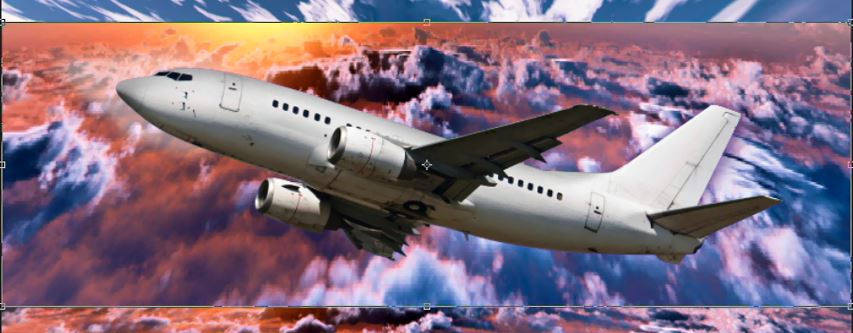
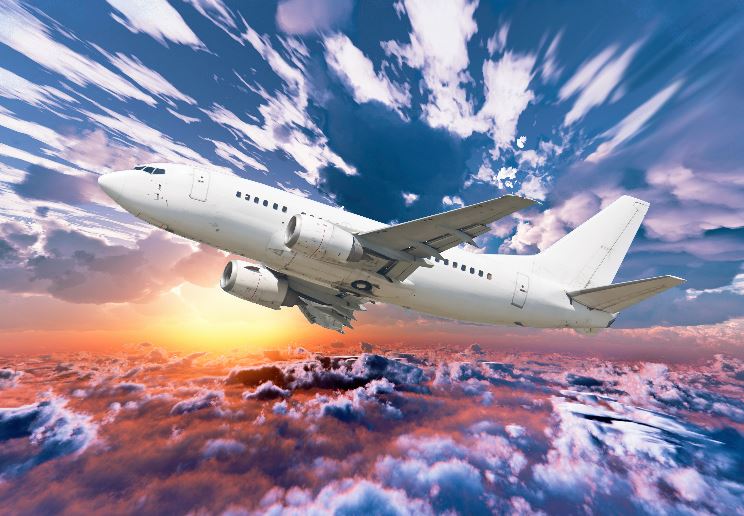
When you clipped it to the airplane layer, we don’t want clouds we just want the color, in order to do this, change its blend mode to color and then navigate to Filter- Blur and then select Gaussian Blur put its amount to 40 pixels, after that decrease its amount to 70% and you will have this nice and shiny colorful airplane which matched the background like screenshot.
Next What I need is to create sunlight or increase the sunlight under the airplane, in order to do this press Ctrl+ Shift+ N to create a new layer at the top of the color layer and name it sunlight. Press B on the keyboard to select Brush and then select a circle brush with 1000 pixels and hardness of 0%, and then click on this area like screenshot after that change its Blend Mode to Linear Dodge(Add).
Adding a Custom Motion Blur Effect
In this section I will show how to view your airplane with a custom motion Blur so that it appears to rushing forward with super speed.
In order to do this, go to darken layer and then select it after go to airplane layer press Ctrl on the keyboard and click on layer mask thumbnail to load selection, and then navigate to Edit menu select copy merged (this will completely copy the areas which are selected as merged), after that paste that top of the layers and name it motions, after then navigate to Filter-Blur and then select Motion Blur, in this panel put its angle to -18 with 200 distance.
If you have recognized we don’t want to give motions to the entire airplane, in order to remove motions from head of the airplane, create mask from layer panel and then press G on the keyboard to select Gradient and then remove the motions from head of the plane like screenshot.
Note: Remember to select Gradient with white and black color.
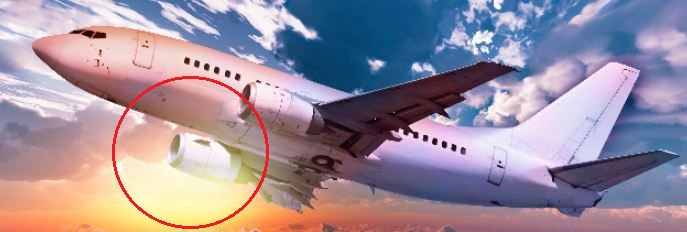
Adding a Rocket Plume
In order to Add Rocket Plume to the tail of the airplane, press Ctrl+ O to open, open dialog box and then open the rocket plume image into Photoshop, after that drag it to the project and position it to this place like screenshot. Remember put its position on the tail shade layer in layer panel.
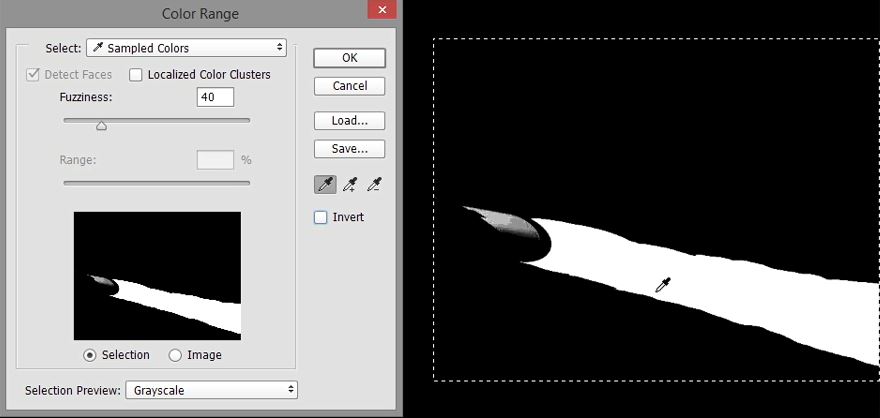
In order to remove background of the Plume layer, go to Select Menu and then select Color Mask, apply these settings like screenshot, when your work was finished from color range click Ok to turn those places into selection, after that create mask to remove those parts.
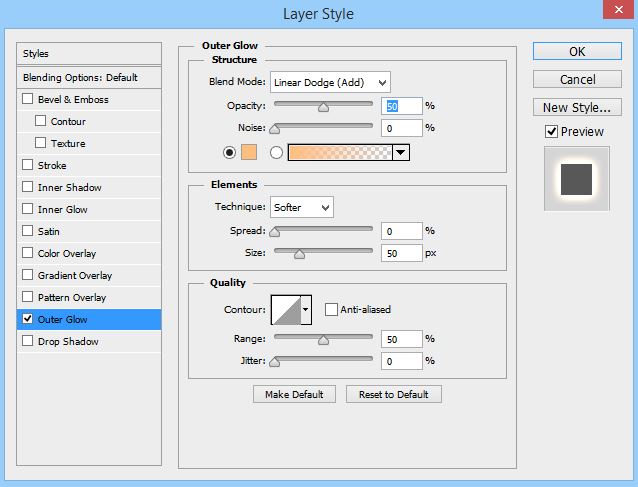
After clicking adding mask, you need to make smooth around the Plume, go to layer mask double click on that to open properties and then 2 pixels’ feather. In order to give glow around the Plume Image, right click on that and then select Blending options, go to outer glow and give a color code of FFbf7f and 000000 and apply these other settings like screenshot.
I hope you have learned something from this project.