We have published a step by step guide on how to install and configure DHCP in Server 2022 using Server Manager. This article, in turn, covers an easy and step by step guide on how to install and configure DHCP in Server 2022 using Windows PowerShell. Using PowerShell to perform such technical tasks is always a preferred alternative for IT pros. Besides other benefits, using Powershell takes us less time to complete the tasks. It is, of course, a professional way to accomplish almost any task in Windows Server operating systems.
Steps to Install and Configure DHCP Using PowerShell
Generally, the process of DHCP installation and configuration in Windows Server encompasses three tasks: installing the DHCP capability and its management tools, adding security groups, and authorizing DHCP in Active Directory. Let’s dive into the steps.
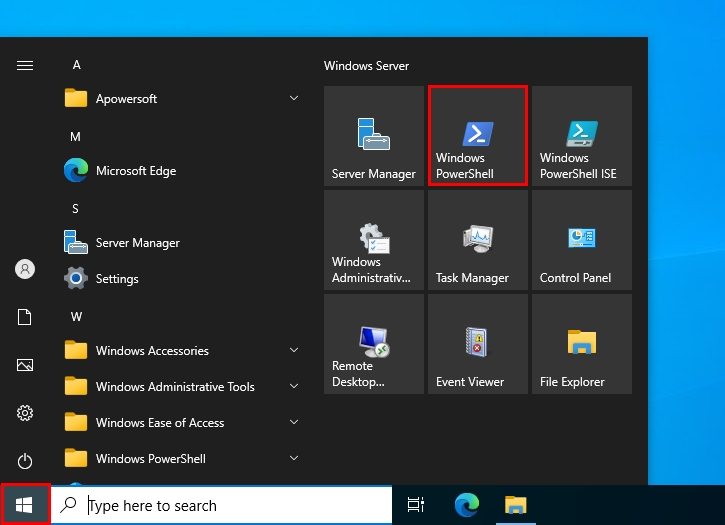
- Open the PowerShell from the Start Menu. See the picture below. You can also open it from Run using
powershellcommand in the Run dialogue box.
- Before straightly going to the DHCP installation command, run the
Get-WindowsFeaturecommand. This command lists all the features available in Windows Server 2022. It shows the name and installation state of those features. As the picture below shows, we have the DHCP feature available to install.
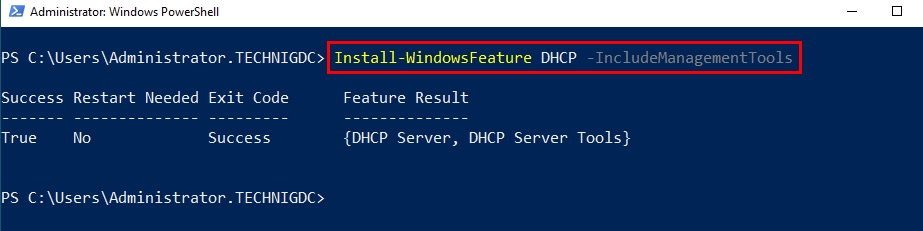
- To install DHCP and its management tools, run the command
Install-WindowsFeature DHCP -IncludeManagementTools.Wait for a while till it finishes the installation, and you will see the details upon successful installation.
- Now, run the
netsh DHCP add SecurityGroupscommand to add the DHCP local security groups.
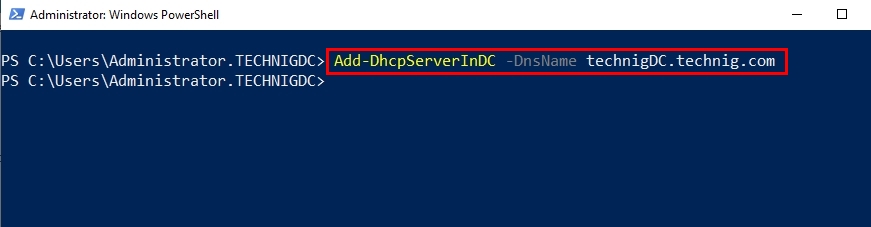
- The next step is to authorize the DHCP server to the Active Directory. To do so, use the command
Add-DhcpServerInDC -DnsName ServerName.DomainName.Use your DHCP server name instead of the ServerName and your domain name instead of the DomainName in the above command. In my case, technigDC is the DHCP server name, and Technig.com is the domain name, as shown in the below picture.
- At this point, we are all done with our DHCP installation and configuration. We can view the authorized DHCP servers in Active Directory using
Get-DhcpServerInDCcommand.
That is all with DHCP installation and configuration using Windows PowerShell. That simple, it is installed and authorized.
Summary
Using Windows PowerShell is a professional way of completing configuration tasks on Windows OSs, including Windows Server 2022. Throughout this article, we explained how we can install and configure DHCP on Windows Server 2022 using the PowerShell tool. We saw that we can easily do it using a few simple command lines.
In the end, I hope you found this article helpful. Feel free to put your related questions in the comment section below.