This Photoshop tips article is about how to design Pepsi ad in Photoshop. The Photoshop has amazing features, and those features are help you to create your exciting designs. Whether creating a new document, edit your images or creating a manipulation design. So while creating this lesson you will learn complete usage of Mask in different methods, and different usage of images for creating an Ad in Photoshop.
How to Design Pepsi Ad with Photoshop?
The design Pepsi Ad which I am going to create in Photoshop, you have seen it in the internet in different Websites, but none of those websites have created its learning tips. I have searched in different websites and finally I found, needed files for creating this Exciting Ad Project. Click here to download the needed files, I hope you will like.
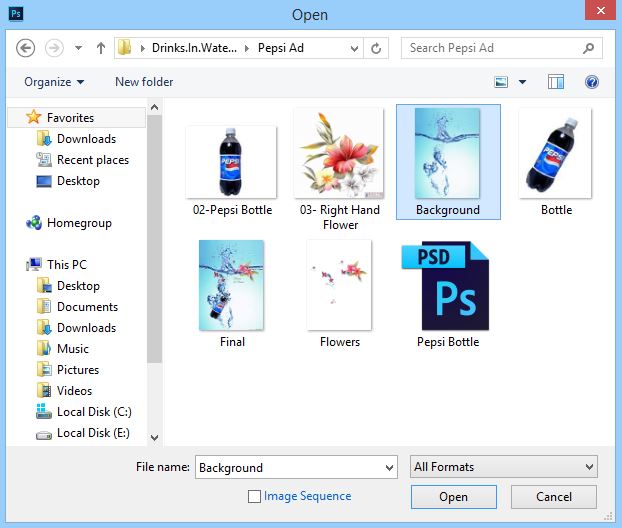
1. Press Ctrl+O to open, open dialog box and then select Background image and import it into Photoshop.
2. After opening your background into Photoshop, navigate to File- Place and then select Place, a new window will appear which is known as Place panel. In here select the sloping Bottle Image, after opening that it will automatically convert itself to Smart Object. Replace it here in background like this screen shot.
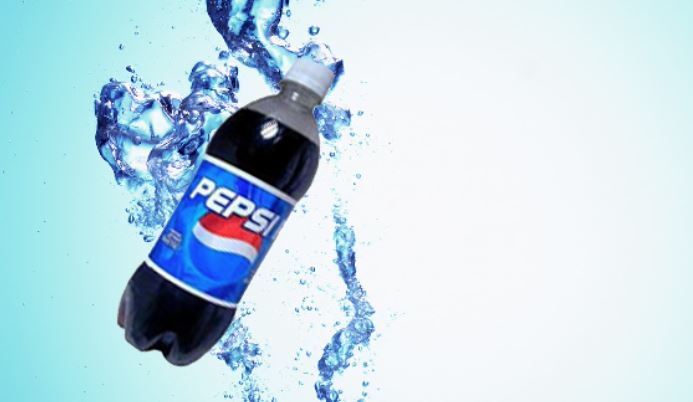
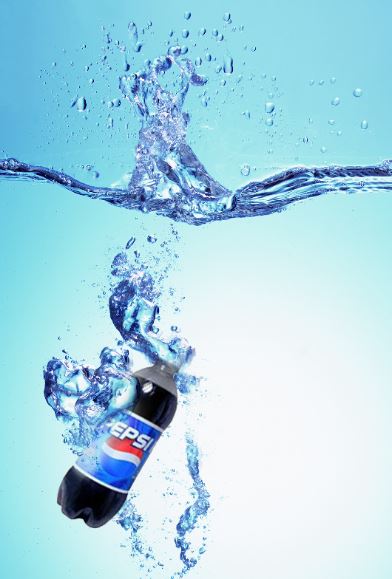
3. From this step own, we will start working with layer Mask. Go to Background layer press Ctrl+ J to duplicate it, and then drag it upper the Bottle Layer. From here own I need to change the bottle shape like screen shot. In order to do this, navigate to layer panel press Alt on the keyboard and click on the Mask to create layer mask on the Background copy layer. Press B on the keyboard to select brush.
Note: Press D on the keyboard to setup default colors in Foreground and background color which are black and white color.
Press X on the keyboard to change the colors in colors panel, and with white color selected change its shape like screen shot. Till here your Project will look like this.
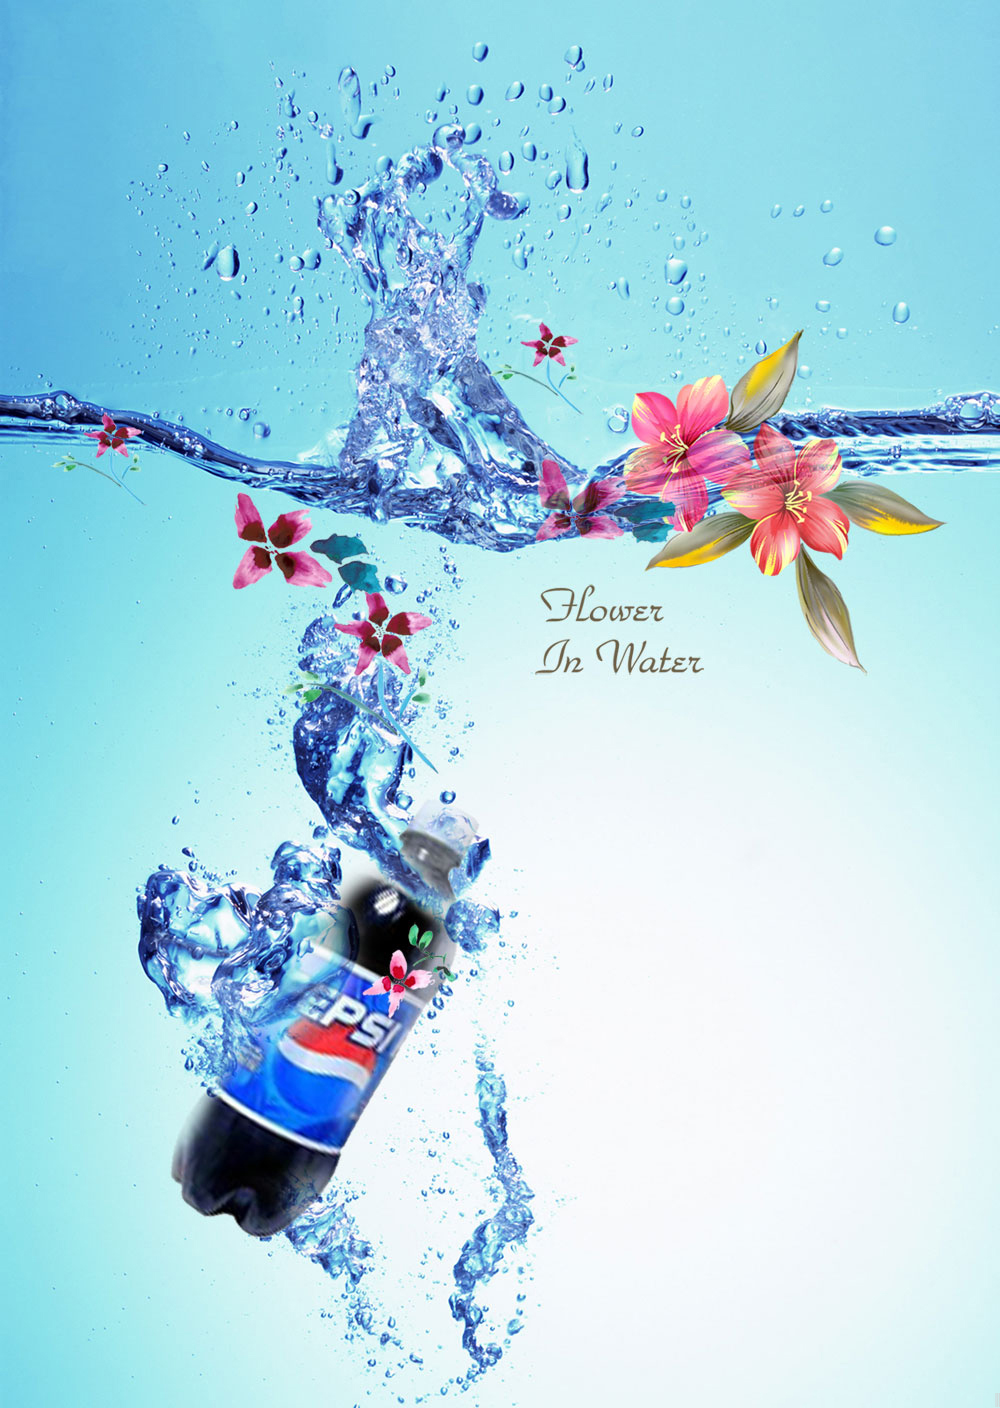
4. Again press Ctrl+ O to open, open Dialog Box, or you can Place it too like Step 2 with the bottle which we did, in here select the flower Image and position it in the image to give this look.
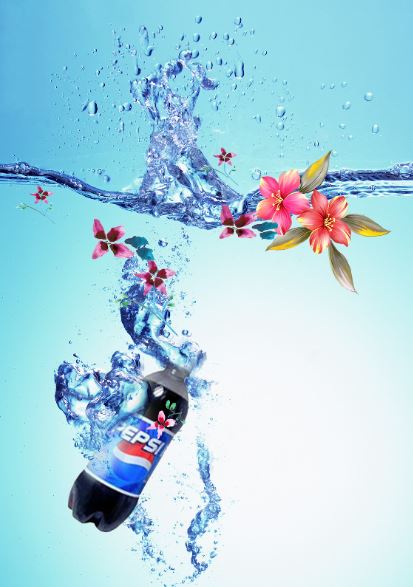
5. Congratulations, till this step you have your Ad, but I want little more lighting in the flower on the top. In order to do this, select lasso tool and draw it around that light, and then press Ctrl+ J to duplicate it. In layer panel change the blend Mode to Pin Light and decrease its amount to percent, again if it has problems, create Mask and erase the non-important places.
I hope you have learned something from this design Pepsi ad with Photoshop, but again if you have any question, give your feedback in comment and I will be there to answer you.