Advanced Photoshop Photo Manipulation Tutorial
In this advanced Photoshop photo manipulation tutorial, I will show you how to manipulate a photo using brushes, Layer Masks, Layer Styles and money other stuff. So before starting the tutorial download the files we need during our work.
Brush: Floral Design Brushes
Photo: Cute girl photo
Advanced Photoshop Photo Manipulation
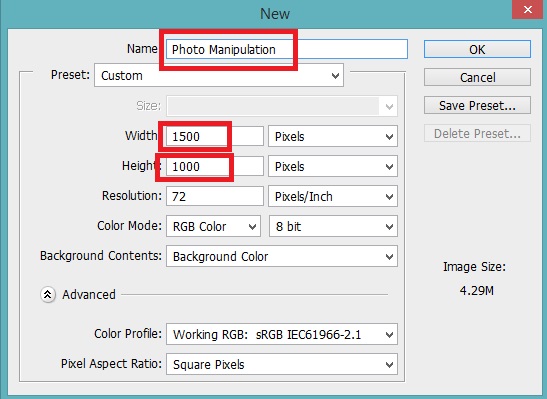
1. Open new document 1500 x 1000 px with black color background and place your photo into the document then make a copy of photo name it Cute Girl and resturize it, to resturize the photo layer Right click on it a long list pup up click on restrize option to do so.
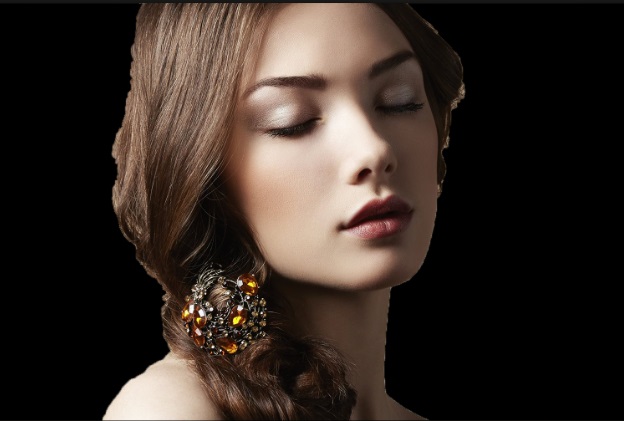
2. Now use Quick Selection Tool (W) to select background of your photo, after selecting the photo click on Mask icon at the bottom of layer panel to hide the background of your photo.
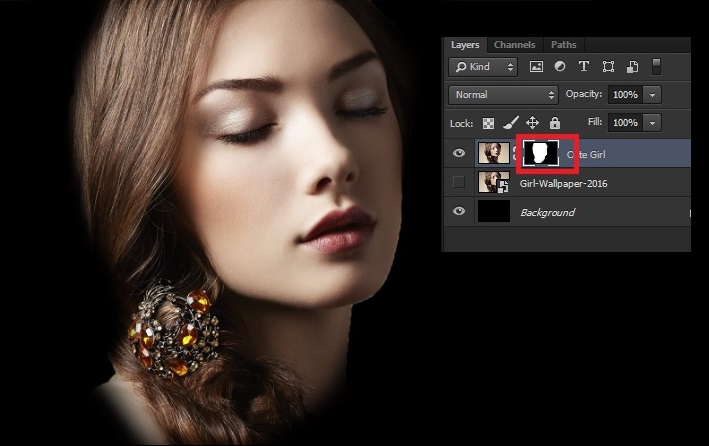
3. Pick the brush tool to smooth out the edge of the photo, use smooth brush with black color selected and start painting on the Mask layer of the Cute Girl, as bellow.
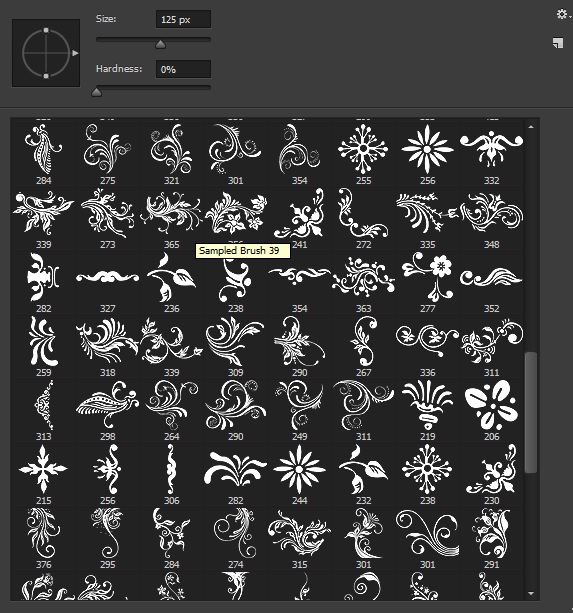
4. So now install your floral brushes to install the brush open the folder and double click on brush file it will open Photoshop and check out brush presets it comes there.
5. Create new layer at the top of Cute Girl layer and use one of the brush style and try to paint on girl’s face. Do not paint with one style brush and on one layer for each brush make new layer, if your brush angle does not mach to the photo try to fix it from brush panel(Window> Brush) or press F5.
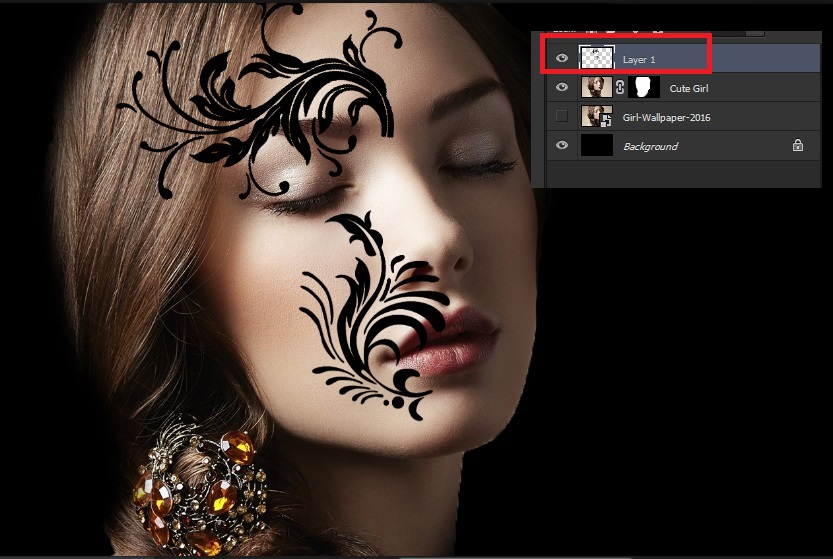
6. OK! do the same process to the right side of your photo use the same brushes but change the angle of your brushes or use X and Y Reflect option in the brush panel.
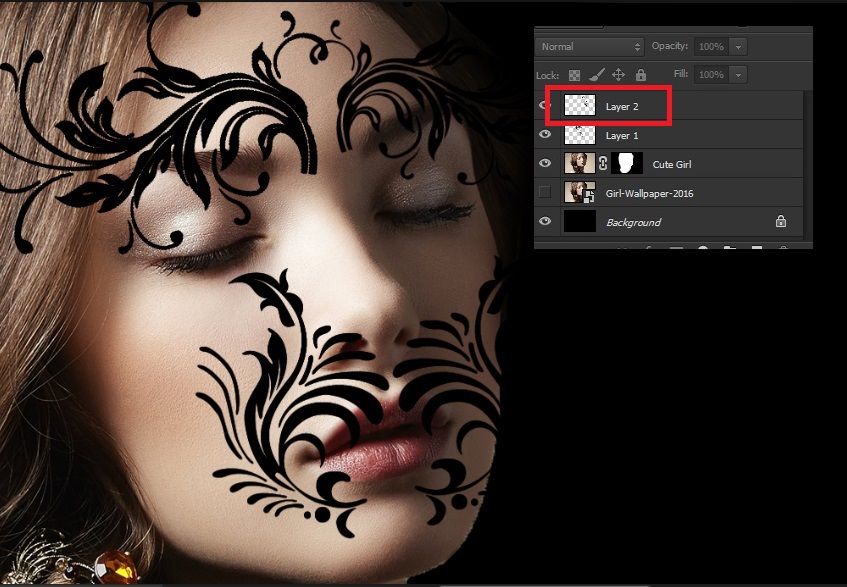
7. Now you get the point, use different brushes and paint over the Girl face till it looks like bellow and filled most part of girl face use different layers to paint.
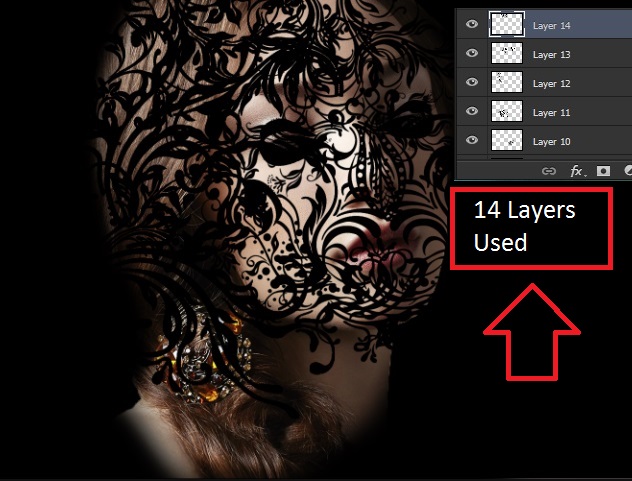
8. After finishing the paint over the face, now make a copy of Cute Girl and put it over each brush layers then use clipping mask option to clip each girl’s photos to the painted layers.
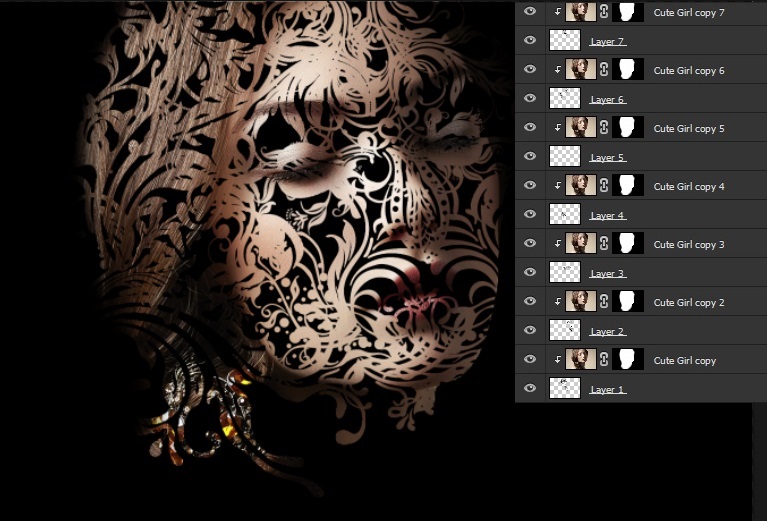
9. Now apply Drop Shadow style for each painted layers. it will give a better look for your design, it looks like below see the differences.
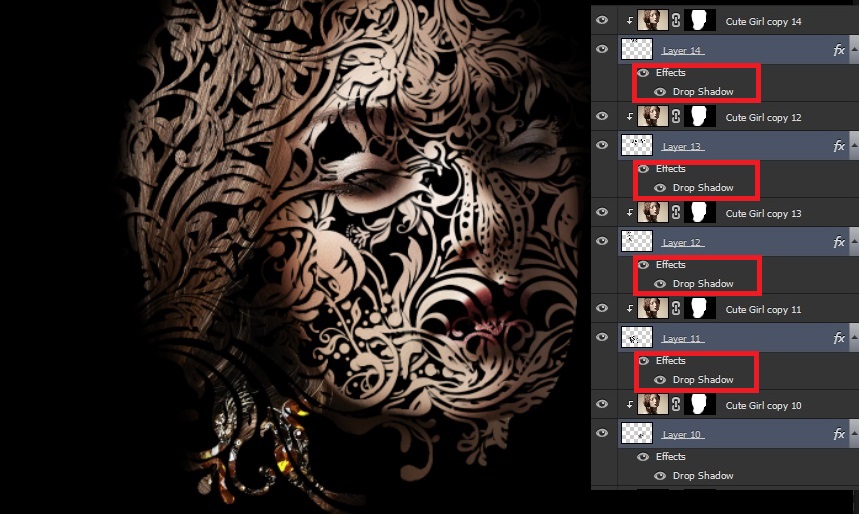
10. Group all the layers and apply Hue and Saturation on you group and set the value to (Hue +9, Saturation 88) bring down the Hue and Saturation Opacity to 30 %, your done!
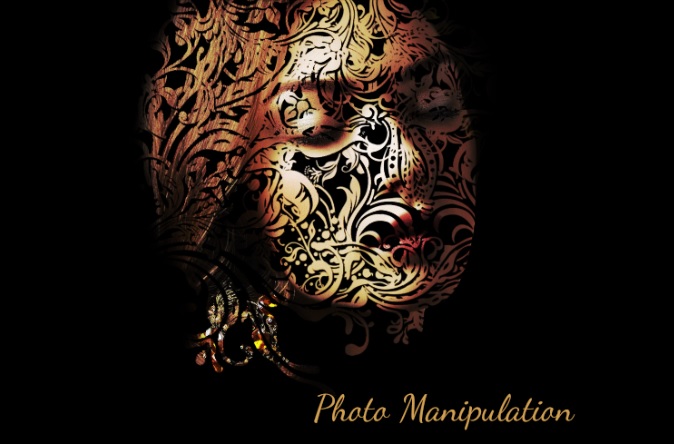
Hope you enjoy advanced Photoshop photo manipulation tutorial, if you faced to any question regarded to the tutorial fell free to ask in comment section bellow.
Download main file: Final Photoshop file
