In this Photoshop tips and tutorial I am going to show you how to design photography flyer using Photoshop? So as you know flyer is a very popular things, for advertising any business, product, events and many other stuff. In this tutorial I will show you the essential and important details you need to include in your flyer.
Design Photography Flyer Using Photoshop
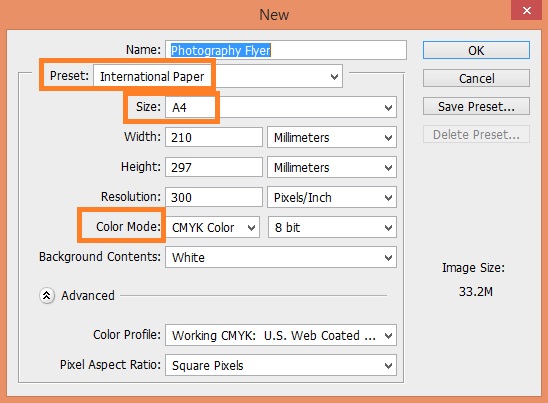
First lets see what we will create in this (Design Photography Flyer Using Photoshop). To design an standard flyer you should know the standard sizes of international paper sizes, which you can find it in Photoshop presets as well, the most common sizes for flyers are A4, A5, US Letter but you can use any sizes.
1. OK go to File> New (Ctrl+N) open new document use A4 size for your flyer you can find A4 size by clicking on preset and choice International Paper from size select A4 black color for background as bellow.
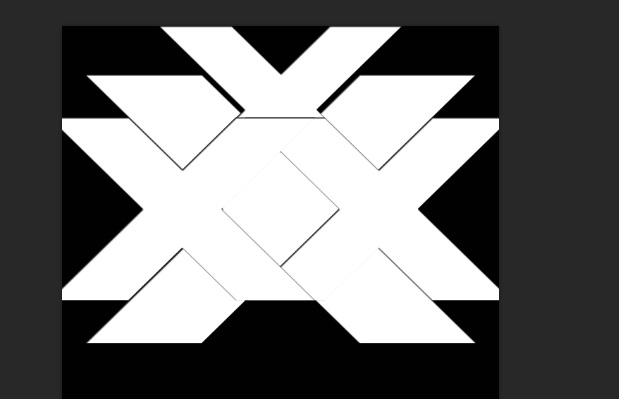
2. Now pick Custom Shape Tool and find the Arrow 2 shape then draw it, and make a copy of that then reflect it till it looks like letter x.
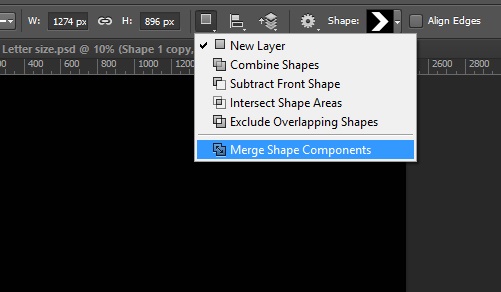
3. SO select both arrow and merge it together, to merge the layer select two layers and right click on it, a long list pop up and you can find the merge commend at the bottom of the list, after merging the layers specially shapes you should do one more thing, select the merged shapes and open the shape operation from the Option bare and use Merge Shape Components, in order to remove the extra paths then name the merged shapes (Frame)
4. Make 4 copy of that Frame layers, place and align it as bellow then apply an Inner Shadow
Blending Mode (Normal), Angle (120o), Distance (4 px), Size (4). Copy the layer style and past it on other Frame layers too it gives a great look to your frames you can add a very thin stroke as well if you like.
5. Select all of frames and duplicate it and put it in a group name it Back Frame move it at the bottom of all other frames and bring down the opacity of your Back Frame to 20 %, scale it up an move it down as bellow try to change the color of the Back Frame to black.
6. Now draw a Rectangle as bellow the try to use black color for the layer, we are going to use it as a place holders for each Frames. To do so rasturize the rectangle then converted to Smart Object layer by right clicking on the selected layer then use Convert to Smart Object comment, and make it as the size of all the frames or even bigger see the image bellow.
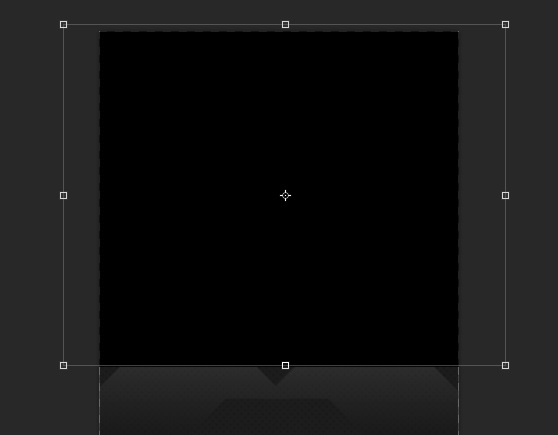
7. Right! now make four copies of place holder and put it on top of each Frames then use the Clipping Mask commend to clip it on the Frame bellow.
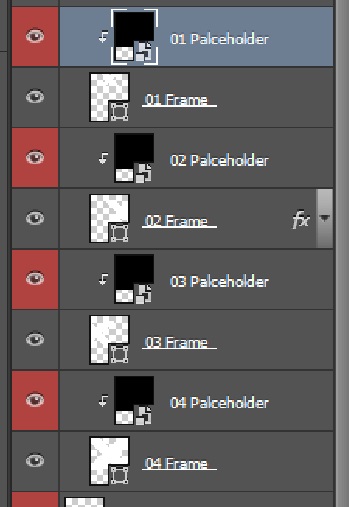
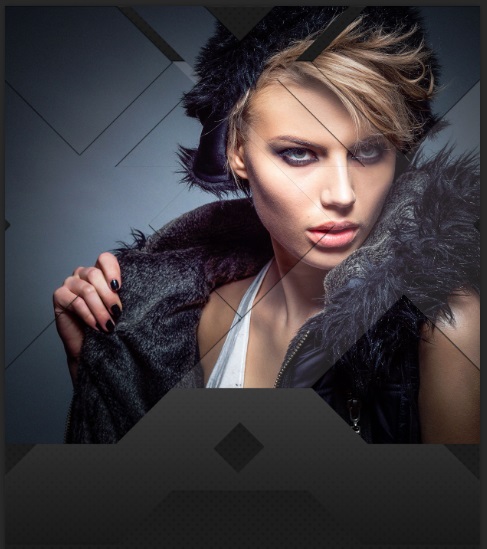
8. Well done! dabble click on any or placeholder layers to place a photo, when you dabble click on any smart object layer it will open in a new document then you can place your photo into that document and press (Ctrl+S) to save that it will save in the main document, to give a better look to your frame bring down opacity of some Frames.
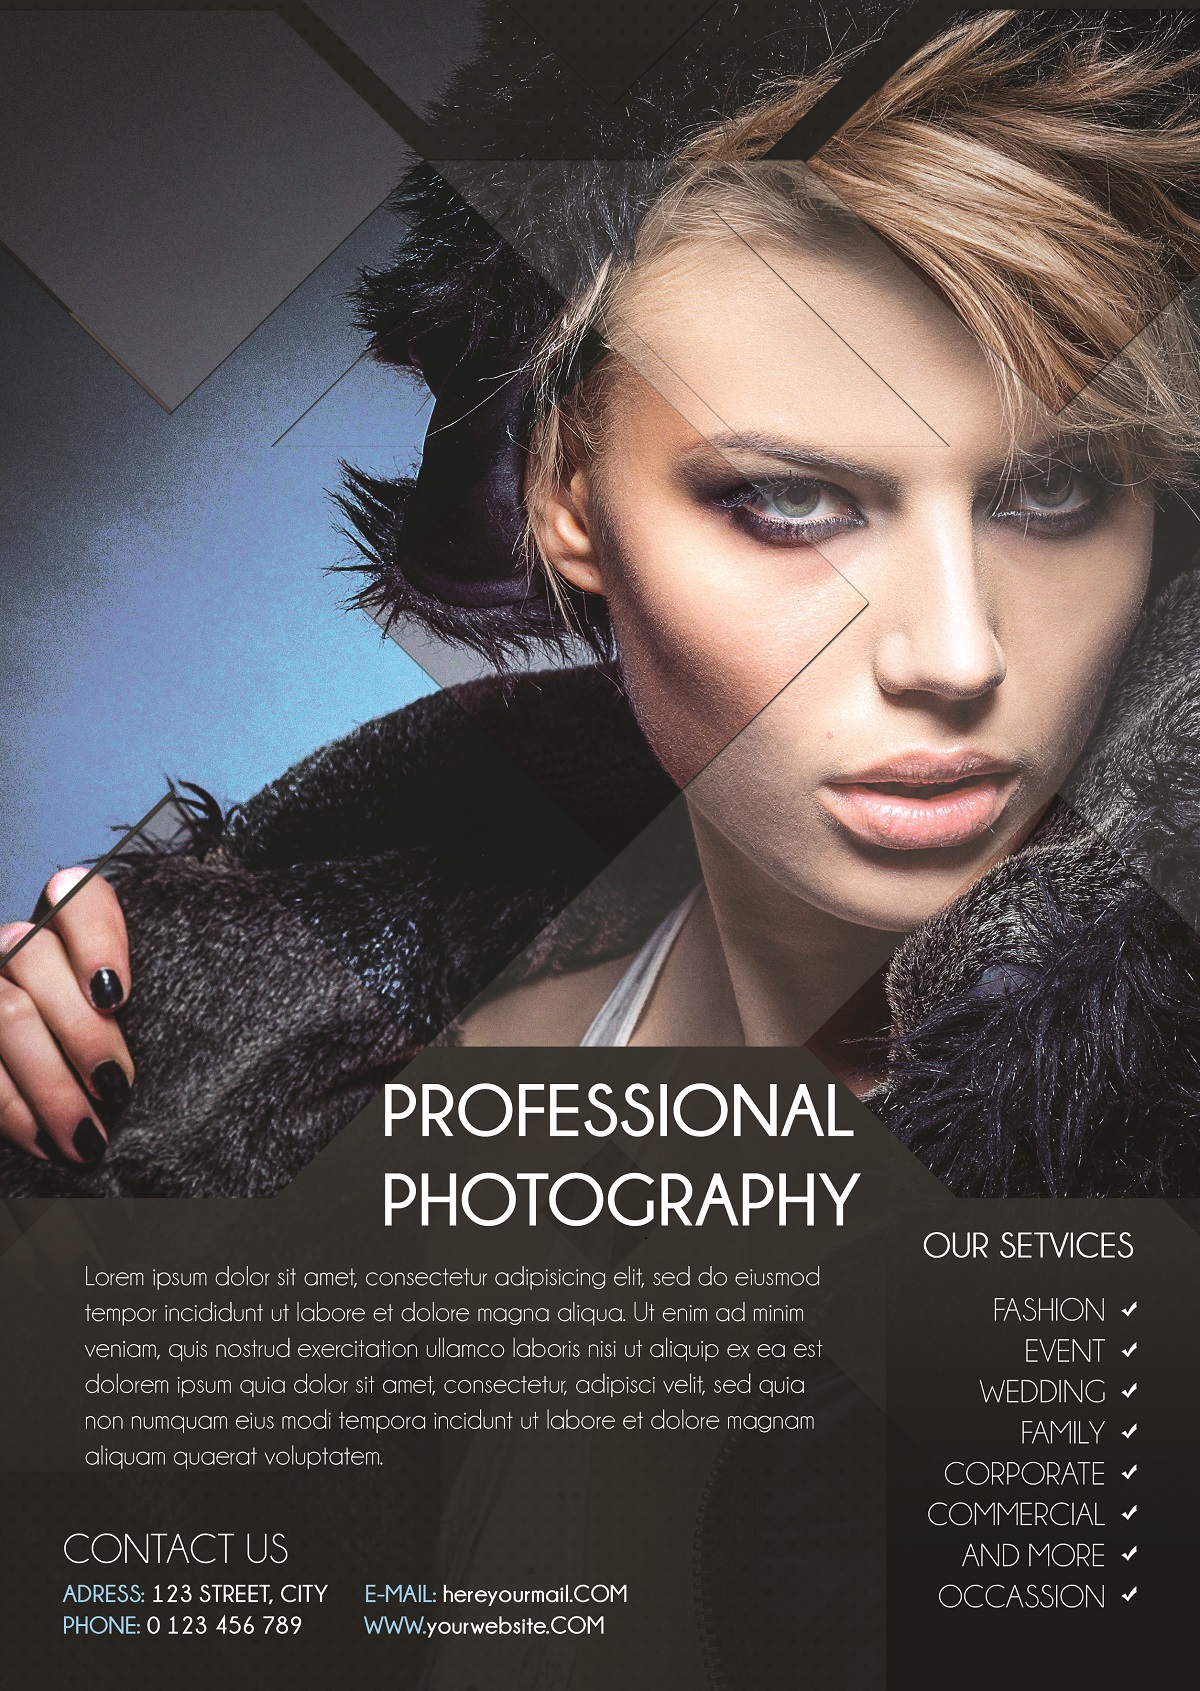
9. An finally I add some text details which are very important to be on your flyer, you make three group for you texts (Title) group, (Contacts) group and (Services) group as you see bellow in final result.
Thanks for following, hope you enjoy this tutorial If you face to any question regarded to this tutorial please ask me in comment section bellow.
Very nice, this is good article for me.
thank you very much.
Everyone says that proper SEO isnt useful or organic SEO is dying, are they right about search engine optimisation?