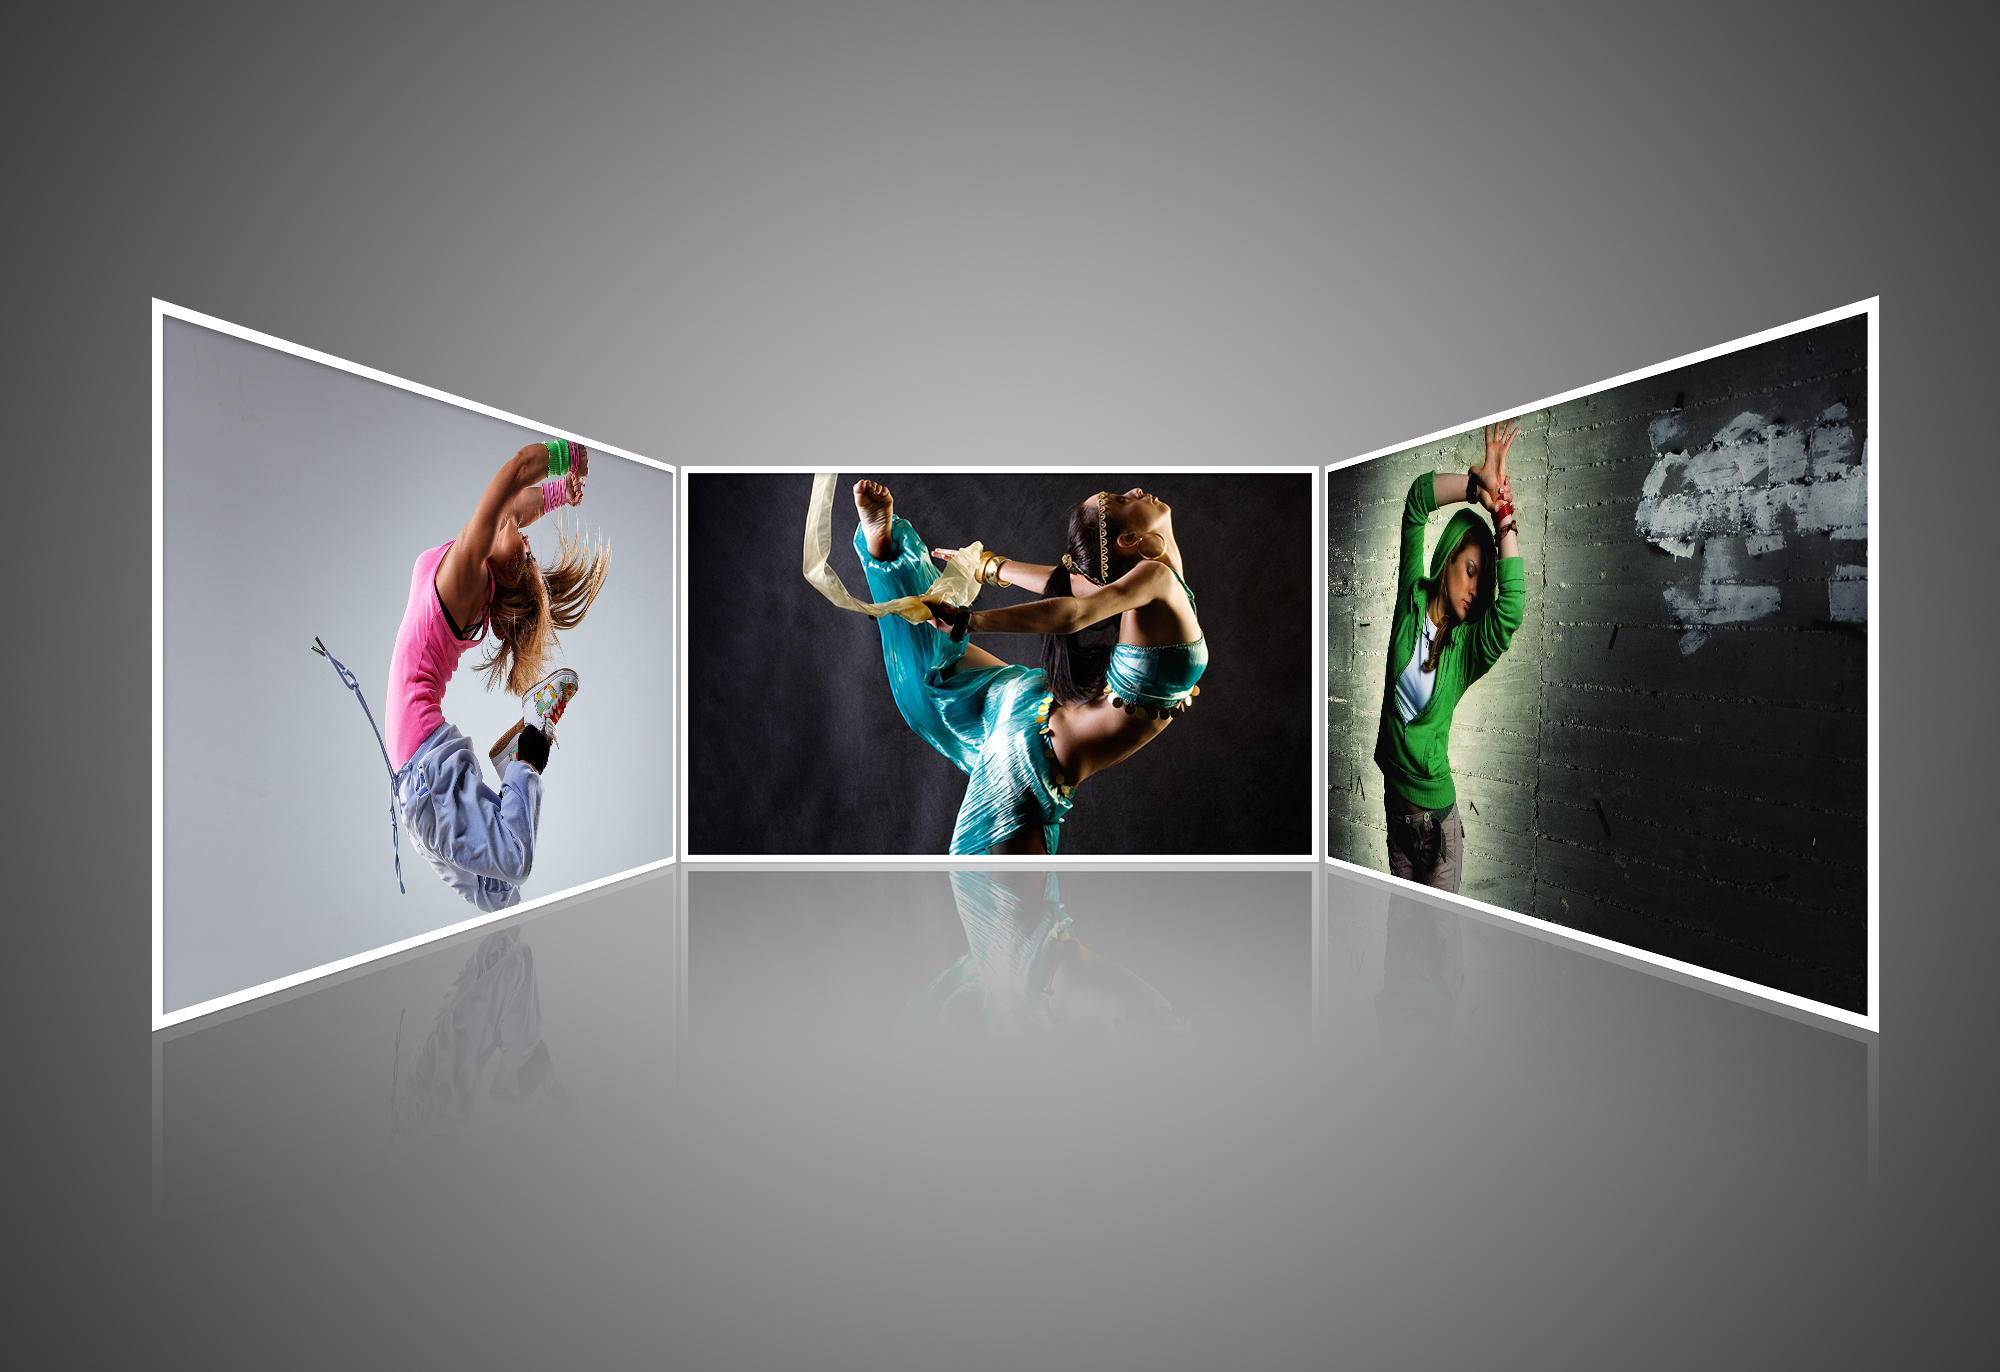
In this tutorial I am going to show you how to create perspective photo template using Photoshop. So in this article I we will talk about basic but important things to show all the thing you need to create and organize the group very well till your client easily can use it.
Create Perspective Photo Template Using Photoshop
Remember that when you want to create this kind of designs you should create a high rasulotion, at least it should be 2000×2000 or up. OK lets see what we will create in this article.
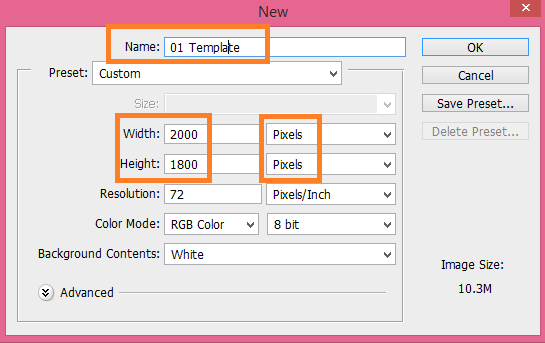
1. Open a new document (2000x 1800) px, and name it whatever you like I name my document (01 Template) so naming is very important especially when you create template for clients, try give unique name for each the files.
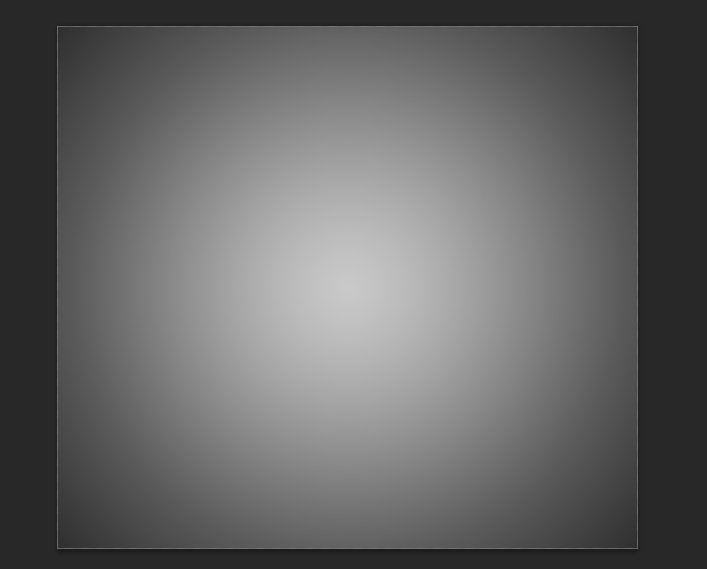
2. OK now pick the Gradient too and use these color hex code (222222) and (c9c9c9) and set the gradient style to (Radial) and drug it from center of your document to any corner of the document till your document looks like bellow.
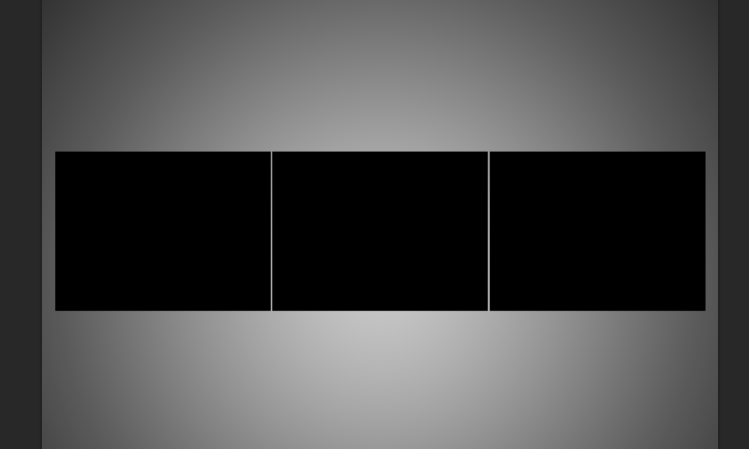
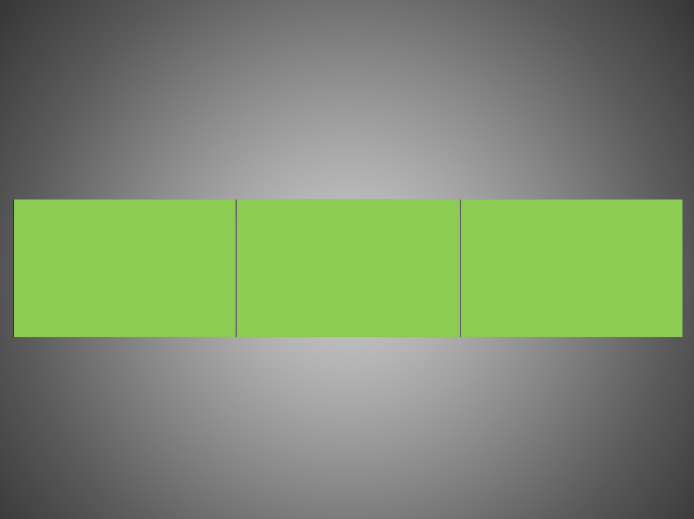
3. Now pick the Rectangle (U) tool and draw a shape as bellow, and make a copy of that shape then move it to the right and make another copy, move it to the left as bellow. Try to use Guides to align it better.
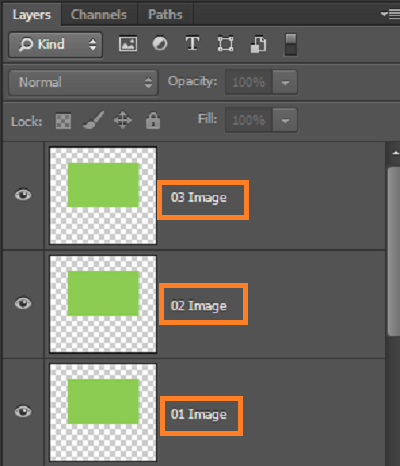
4. Remember that these shapes that I created are just a guide I will remove it latter, when I set the Smart Objects layers on each shape layers. Now draw another shape bigger then the old ones name it (01 Image), give it different color as bellow then rasterize it by right clicking on layer find the rastrize option, and make two copies of that layer and name one of them 02 Image & 03 Image.
5. Now select 01 Image layer and convert it to Smart Object by right clicking on layer thumbnail then hide other two layers (02 & 03 Image) so move it to the left side and scale it down make it the size of the black shape, do the same thing for layer 02 & 03 do not forget to convert the layer to smart object before re size it, as bellow.
6. Right! now delete the black shape layers, and select the 01 Image press (Ctrl+ T) then right click on the layer not on layer thumbnail and choice Perspective option then move your mouse over the left corner and click and hold it then move your mouse to the top or bottom.
Note: If your looks to long you right click on and use Scale option to re size it.
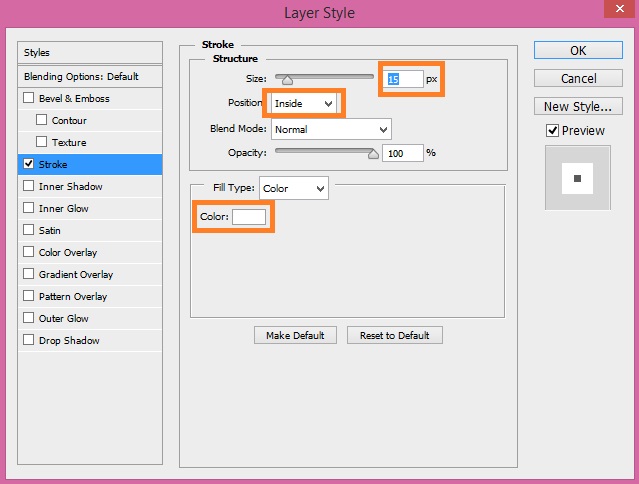
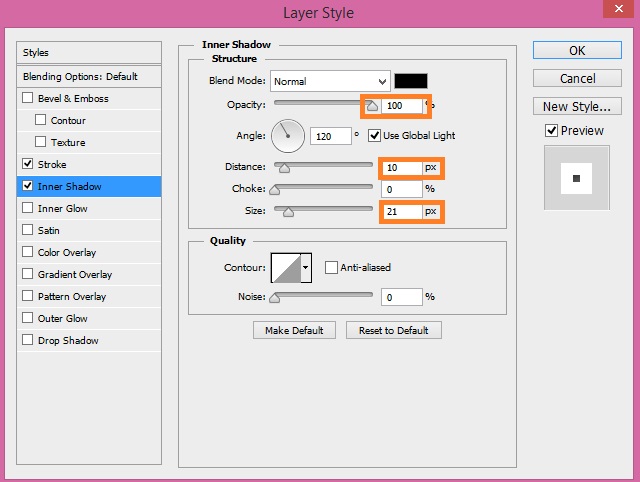
7. Now do the same process for the 03 Image layer, try to use guides to make the right side as the left one. It is time give to our layers some layer styles and place some photos to do so dabble click on each of 01,02,03 layers it will open in new document, and apply Stroke and Inner Shadow layer style as bellow.
your layer should looks like bellow after applying the following layer styles.
8. OK now make copy of this layer which we applied layer styles and bring down the Fill percentage to 0 and name it Frame, then go to File>Place select a photo and place and fit it in your document then press (Ctrl+S) to save. It will save in the 01 Template document, do the same steps for two other layers, finally your Template should looks like bellow. I add some reflection to it you can do it so.
I hope you enjoy this toturial, if you have any question regarded to this tutorial fell free to ask in comment section thanks for following.