Here is how to change localhost to domain name in Windows 10. Have you ever thought about how to change or rename your localhost address with a domain name you like?. For me when I found that I can change localhost address to a domain. I was so excited to use my favourite domain name, instead of localhost. Have you decided to change your Localhost name to a specific domain name? Like many other developers and me. Here Is How to change your localhost address to your favourite domain name.
Change Localhost to Domain Name
Here are two easy methods to change your Windows localhost address to the domain name.
Method One: Using Hosts file
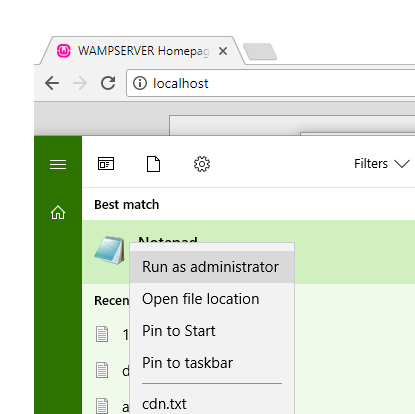
Step – 1: Run your notepad or any other text editor as administrator. A dialogue box will pop up and ask you “Do you Want to Allow This App to Make Changes to Your Device?” Click Yes
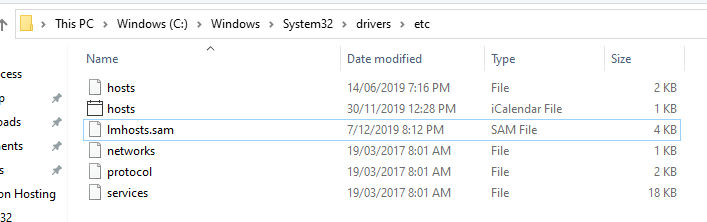
Step – 2: From the Menu bar of Notepad go to File>open and open the following Directory
C:\Windows\System32\drivers\etc
Or go to MyComputer>Drive C>Windows>System32>Drivers>etc>
By default, you won’t be able to see the files located in them, etc. folder to see the existing files, Change the Document text to all files from the extension tab of notepad.
Once you changed the extension tab to all files, you will see the following files in the folder
hosts, Imhosts.sam, networks, protocol, services
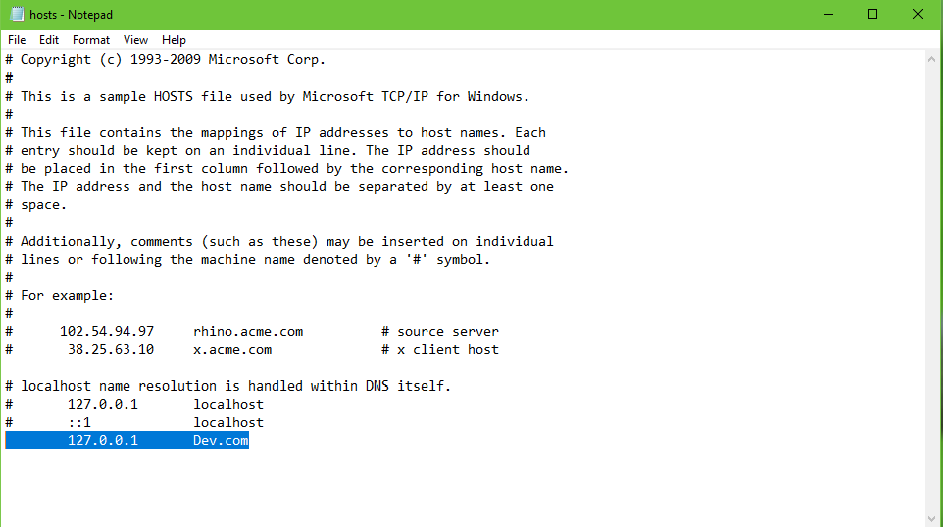
Step – 3: Open the host’s file and write down your favourite domain name
After opening the “hosts” file that will look as below. Here you can add your favourite domain name with the same IP address as I have added the Dev.com with the IP of 127.0.0.1.
Note: you can add as many domains as you want to add.
Method Two: Wamp Server Tools
This technique is a little bit easier than method one. To change your localhost to domain name all you need to do is run your wamp server and go to localhost page.
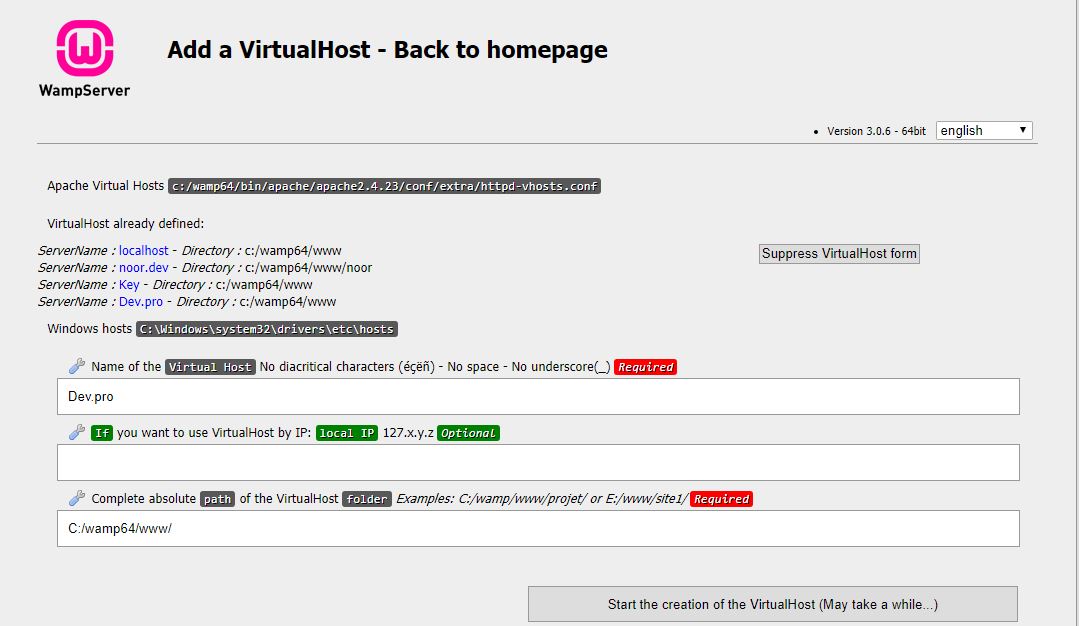
In the Localhost page, on the tool section, click on Add A Virtual Host then you will be guided to the following page.
Like the page, itself has the guide in the first input field write your domain name without space, Underscore and diacritical characters.
The second input field is optional; you can add an IP address, or leave it empty.
The third input field goes to the address of the wamp server which is common as below.
C:/wamp64/www or C:/wamp/www/
Once you are done with the above steps, click on the Start, the creation of the virtual host.
Then go to wamp and rightclick>tool>restartDNS that’s it. Now open your browser and type your domain name to open the localhost page.
Final word:
I know you, like me, and many other techies enjoy learning new things every day and to build up your skills, improve in your filed and have more grip on your passion.