The file permissions in Windows are privileges granted to specific system entities, such as users, groups, or computers, enabling them to perform a task or access a resource. This is about to set and manage file permission in Windows 10 and other Windows operating systems.
Manage File Permission in Windows
• As an administrator, you should be familiar with the operation of the following four permission
Systems:
- NTFS permissions
- Share permissions
- Registry permissions
- Active Directory permissions
Q: how to set permissions on our files in order to allow or disallow others to access our files?
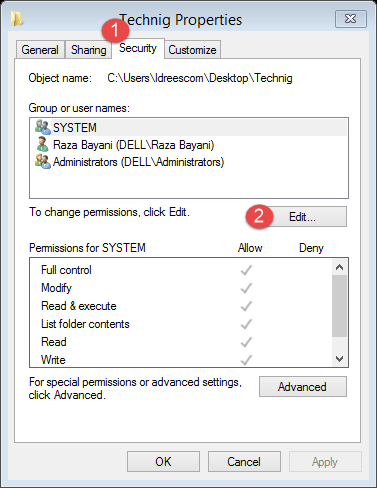
Step One: right click on the file you want to set Permission on, and click Properties or simply select the file and press ALT + ENTER to open the properties window.
Step Two: Move to Security Tab and Click Edit to go for user selection.
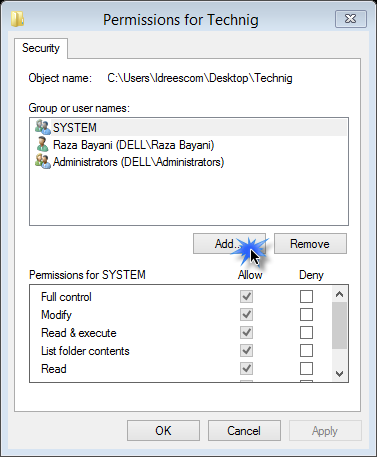
Step Three: in this window click add, in order to add a user for setting or managing permissions.
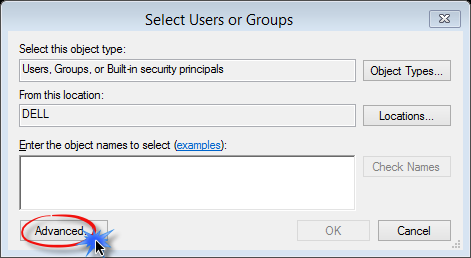
Step Four: Click Advance to find the desired user.
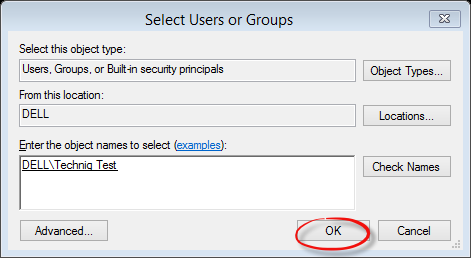
Step Five: Click Find Now to view all users and user group the n select the user from the list at the bottom of the window then click OK.
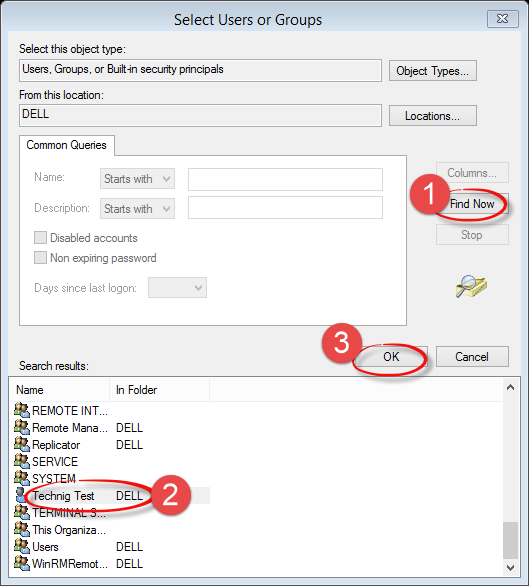
Step Six: Again click OK in the “select user and groups” window.
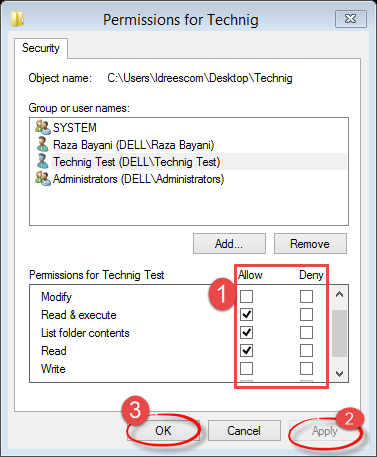
Step Seven: Now it is time to set permissions;
Select options or Tick the squares as u wish to set permissions and then press “ apply” and OK.
Hurrah, finally it’s done! You’ve set permissions for the user you wanted. Now you can switch to other user and check if the permissions work correctly!
Hope you learn something new from this basic article manage file permission in Windows 10 Operating System. If you have any question, feel free to ask us through comment section or ask it on our forums.