The article is going to show you how to install and configure Network Policy Server (NPS) on Windows Server 2012 R2. NPS in Windows Server is used to create and enforce network access policies for client health, authentication and authorization of connection requests. You configure the NPS as a Remote Authentication Dial-In User Service (RADIUS) server…. So let’s Installing the Network Policy on Windows Server.
How to Install Network Policy Server?
To install and configure Network policy server, go to Server Manager dashboard and installing from Add Roles and Features.
1. Just click Next on the before you begin page of Add Roles and Features Wizard page.
2. Select Role-based or feature-based installation on Installation Type page then click Next.
3. On the Server Selection page click Next if you have only one server or select the server you want to install NPS.
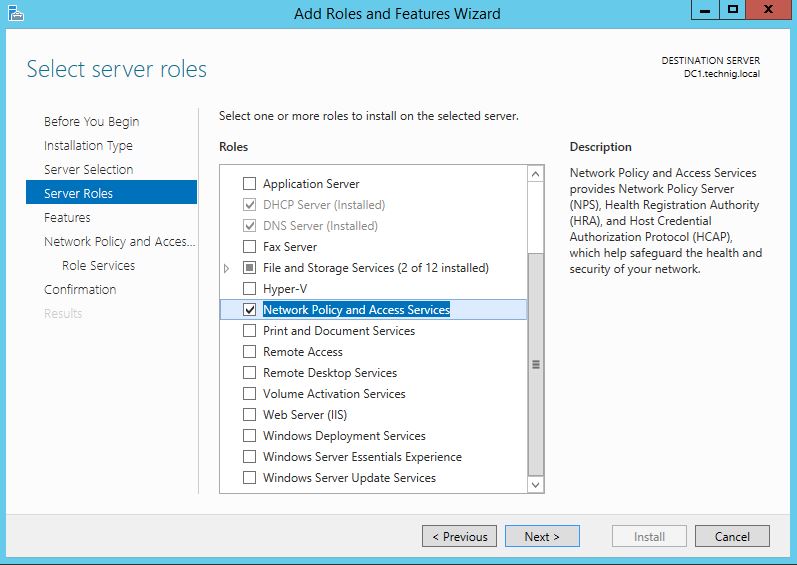
4. Select Network Policy and Access Services on Server Roles page and add the required features by clicking the Add Features button then click Next.
5. On the Features page click Next.
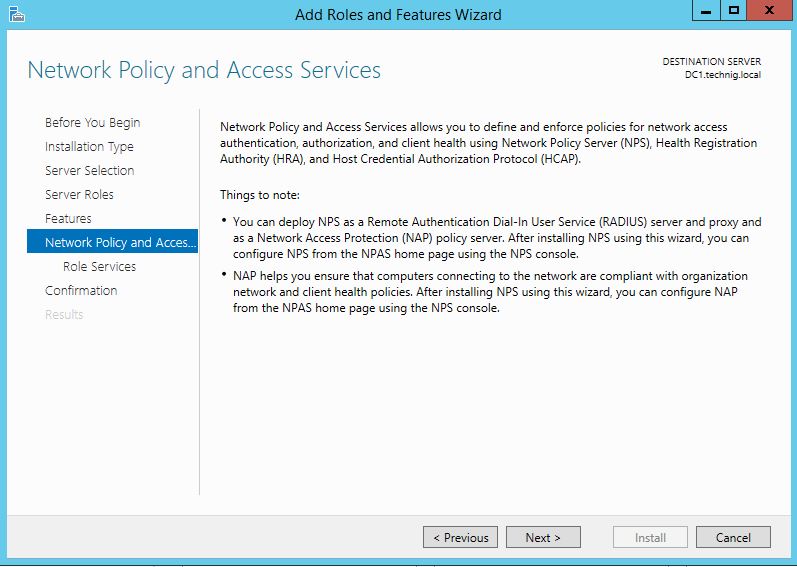
6. For the first time, it is good to read once the network policy and access services details page and then click Next.
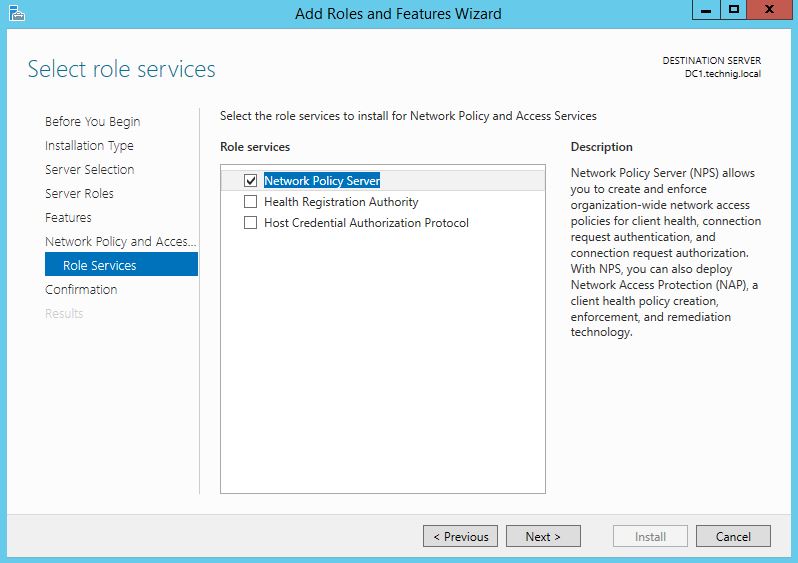
7. On the Role Services of Network Policy and Access Services page select Network Policy Server and click Next.
8. On the Confirmation page click Install to start installing Network Access Protection.
9. Finally when the installation finished successfully, click Close and go to do the next step and no need to restart the Server.
10. Go to Server Manager, click Tools then click Network Policy Server or simply type NPS.msc on Windwos Run to open the Network Policy Server console.
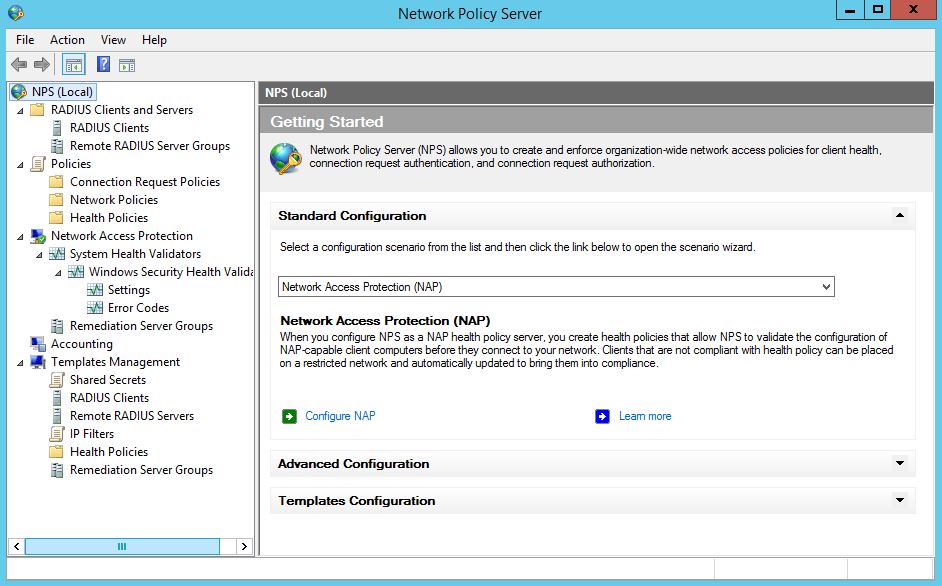
Here is the Network Policy Server.
Installing Network Policy Server with PowerShell
You can simply install NPS using Windows PowerShell command line without shooting too many clicks!
1. Search with “Get-WindowsFeature npas*” command whether it’s installed or not.
2. Install it with “Install-WindowsFeature -Name npas,npas-policy-server -IncludeManagementTools” command.
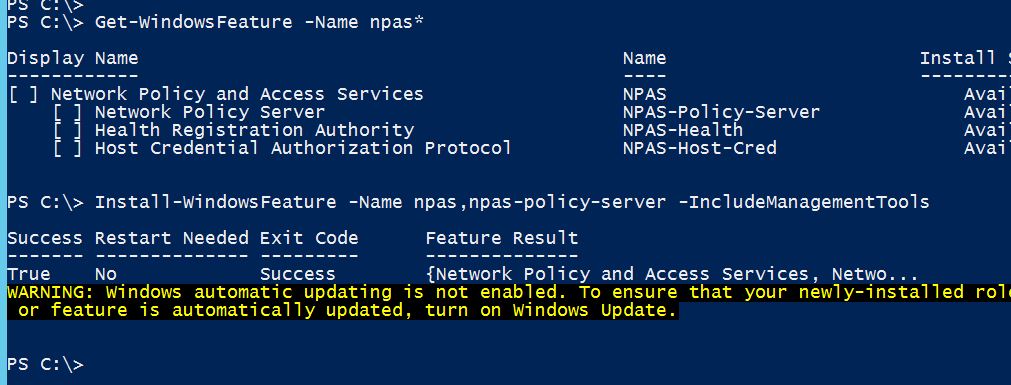
Yes, that is installed successfully. If you want to uninstall it with PowerShell command, just do it with Uninstall-WindowsFeature command.

Uninstall Network Policy Server
Hop you completely understood the installation of Network Access Policy on Windows Server 2012 R2. Feel free to ask your question about network policy server and other Windows Server roles and features.
Well structured and very helpful. Splendid effort.